What are the different acquisition modes?
Normal, Precision and Peak Detect acquisition explained

Written by Ben Nizette
Updated at November 29th, 2022
Your Moku will always sample the input signal at the maximum rate supported by the hardware. If you increase your time base, there will come a point where there are too many data points in the span to draw to the screen. The “Acquisition Mode” describes the algorithm used to decide how to combine multiple sampled data points to draw a single point on the display. This operation is called downsampling, the Moku supports “Normal”, "Peak Detect" and “Precision” downsampling algorithms.
Normal Mode
Normal mode, also called “Direct Downsampling” or “DDS”, just picks a single data point out of the many that need to be combined. For example, if you have 100 data points from the ADC that need to be shown as one point on the screen, the Moku will discard 99 and display just one.
This can cause a high frequency input signal to alias (appear as a different frequency), but if you have a signal present, there's almost always something shown on the screen which can assist in debugging (contrast this with Precision Mode below).
Peak Detect
Peak Detect does not give a single point to draw to the screen, rather it draws a shaded area, extending from the minimum value in the downsample window to the maximum value. This means that it will capture any glitches or transients present in the input, but will also capture all noise which can make it more difficult to see the signal of interest. Peak Detect not only improves the visibility of small glitches, but makes it easier to trigger on them as well.
Peak Detect is not available on Moku:Lab.
Precision Mode
Also called “High-Res” mode on some Oscilloscopes, Precision Mode takes the average of all points in the downsampling window. This operation can remove noise and improves the voltage resolution of the measurement. If your signal is too fast for the selected time span, Precision Mode may average your signal down close to zero, making it look like the signal is not present at all.
Precision Mode improves the effective number of bits according to the following formula: 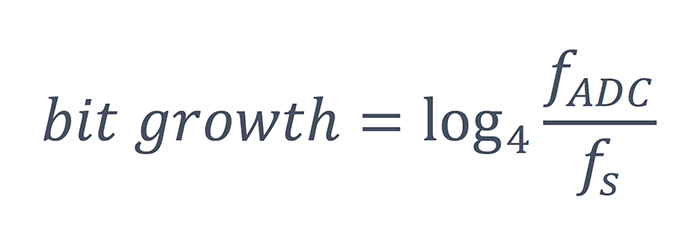
For example, Moku:Go has an ADC frequency of 125MSa/s and a native bit depth of 12 bits. If your timebase is set such that the display sampling frequency is 100kSa/s, Precision Mode gives an extra ~5 bits of resolution for approximately 17 bits total.
Examples
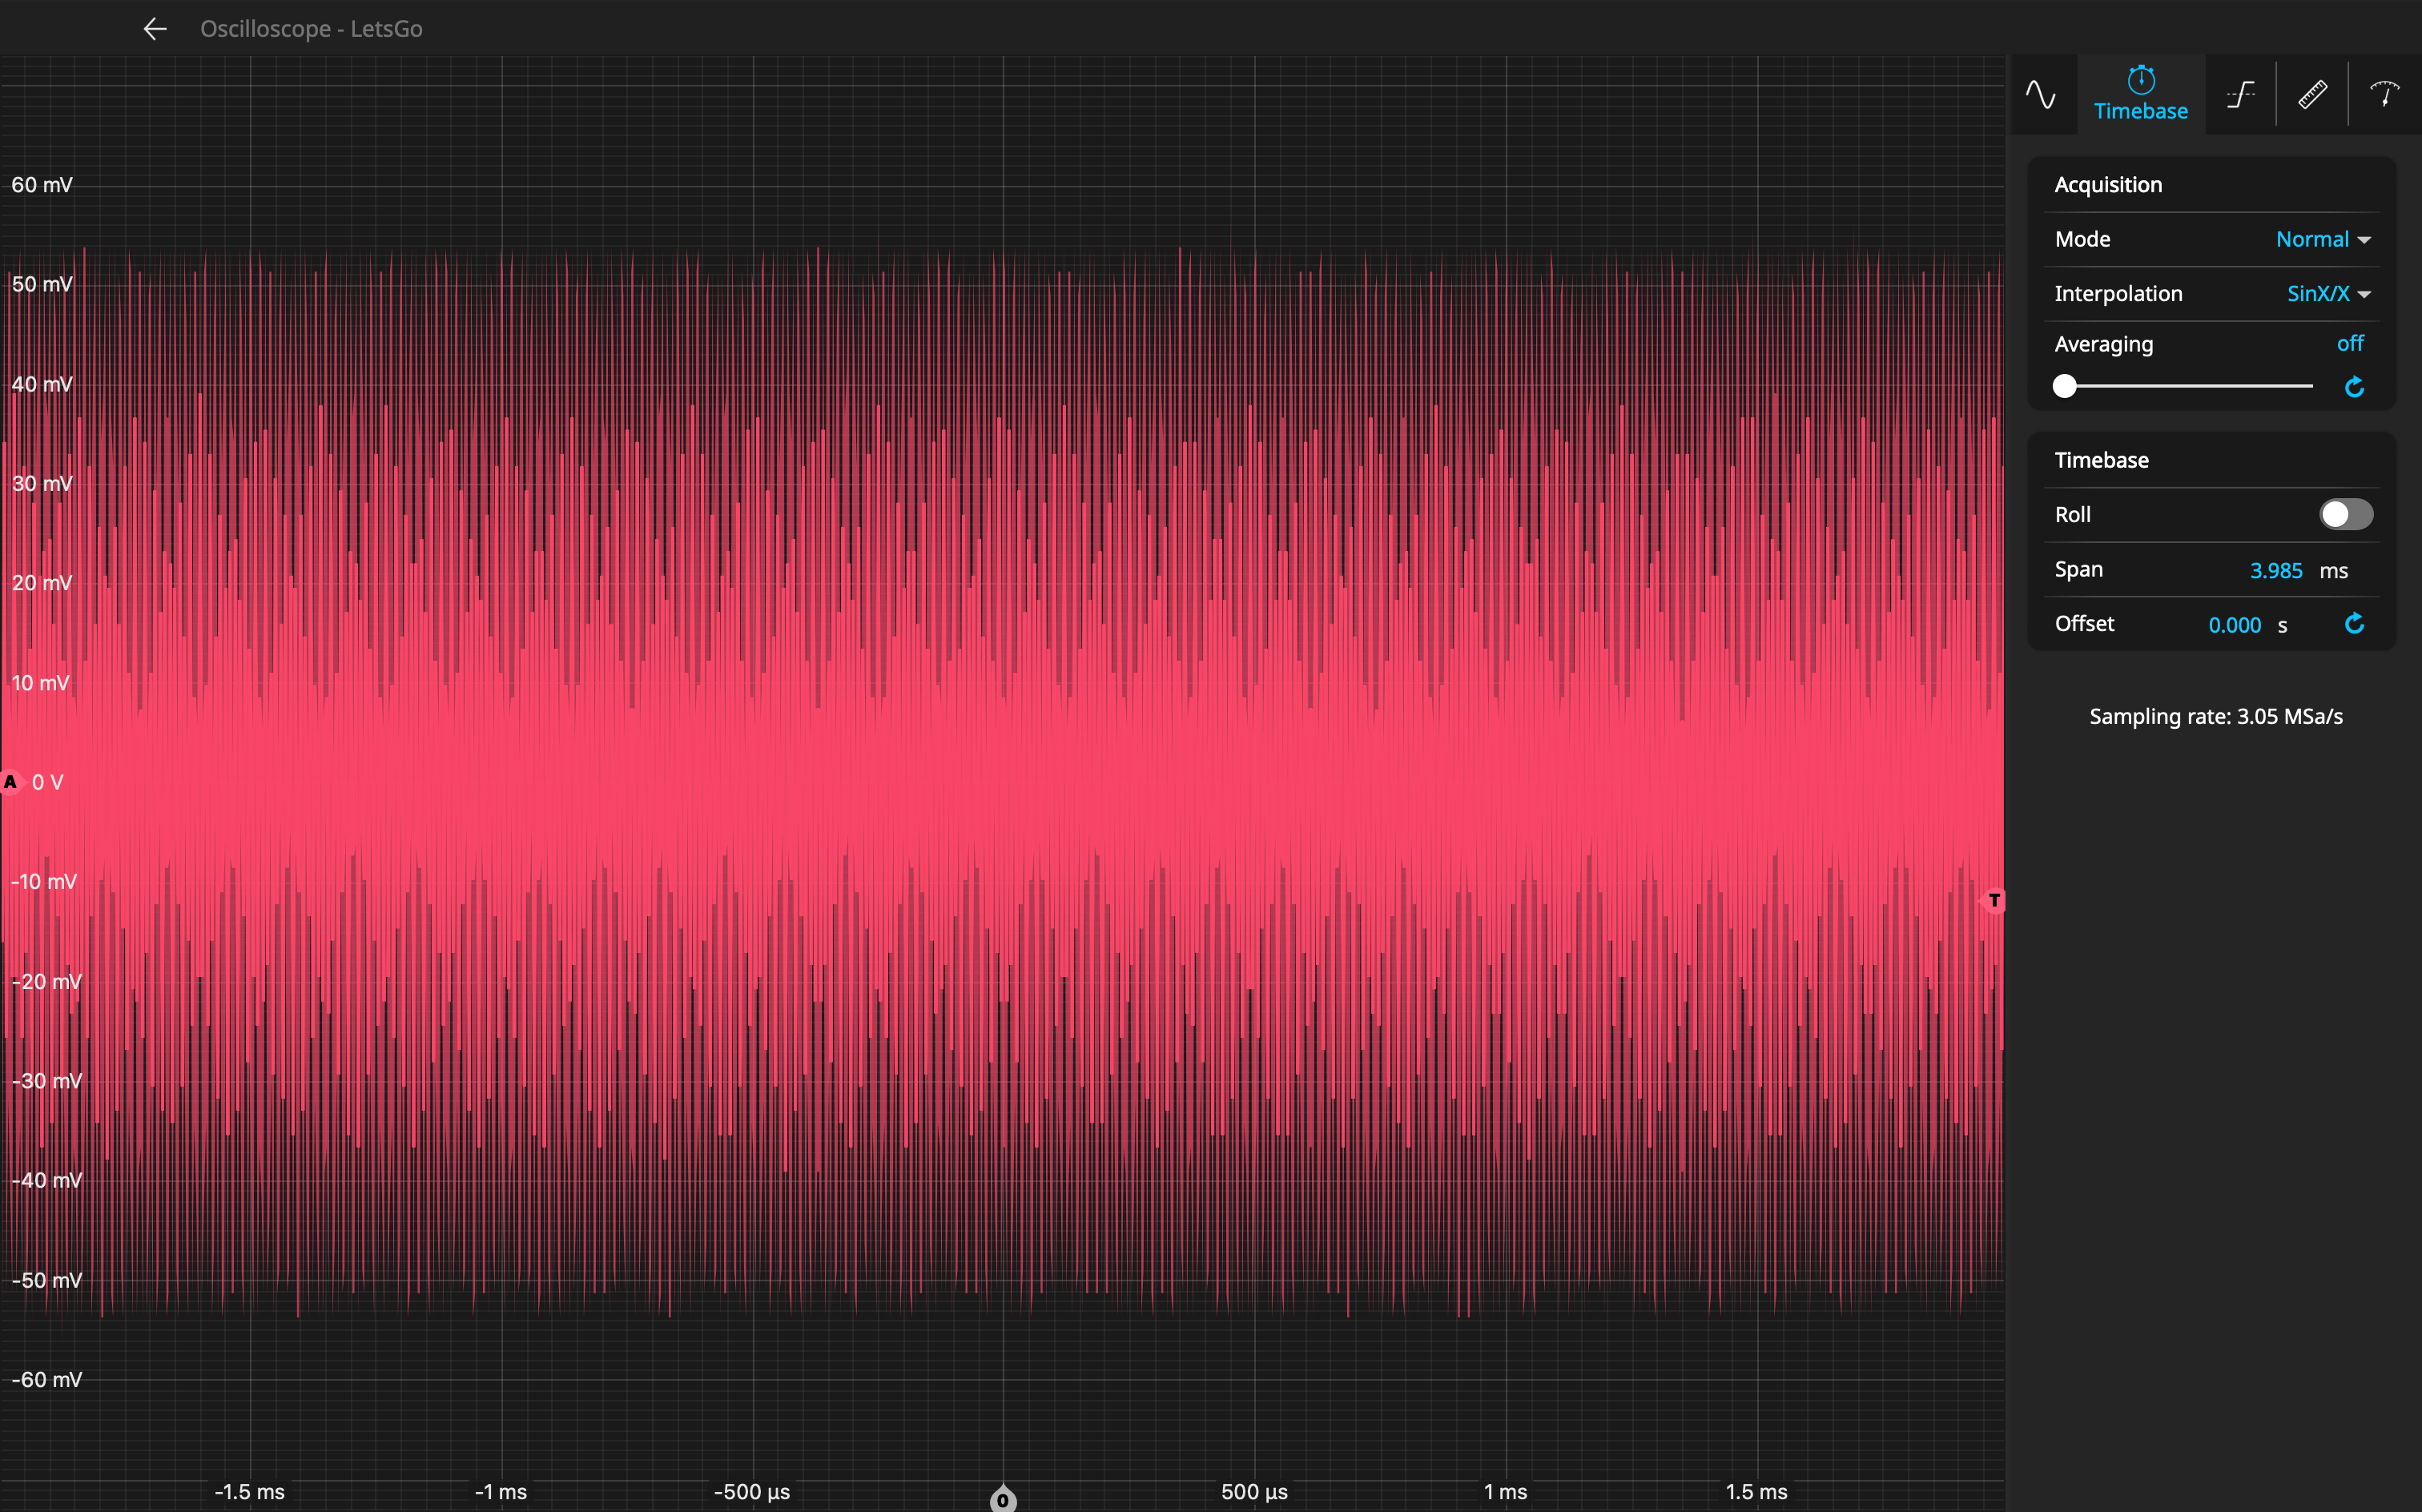
Slow and noisy signal
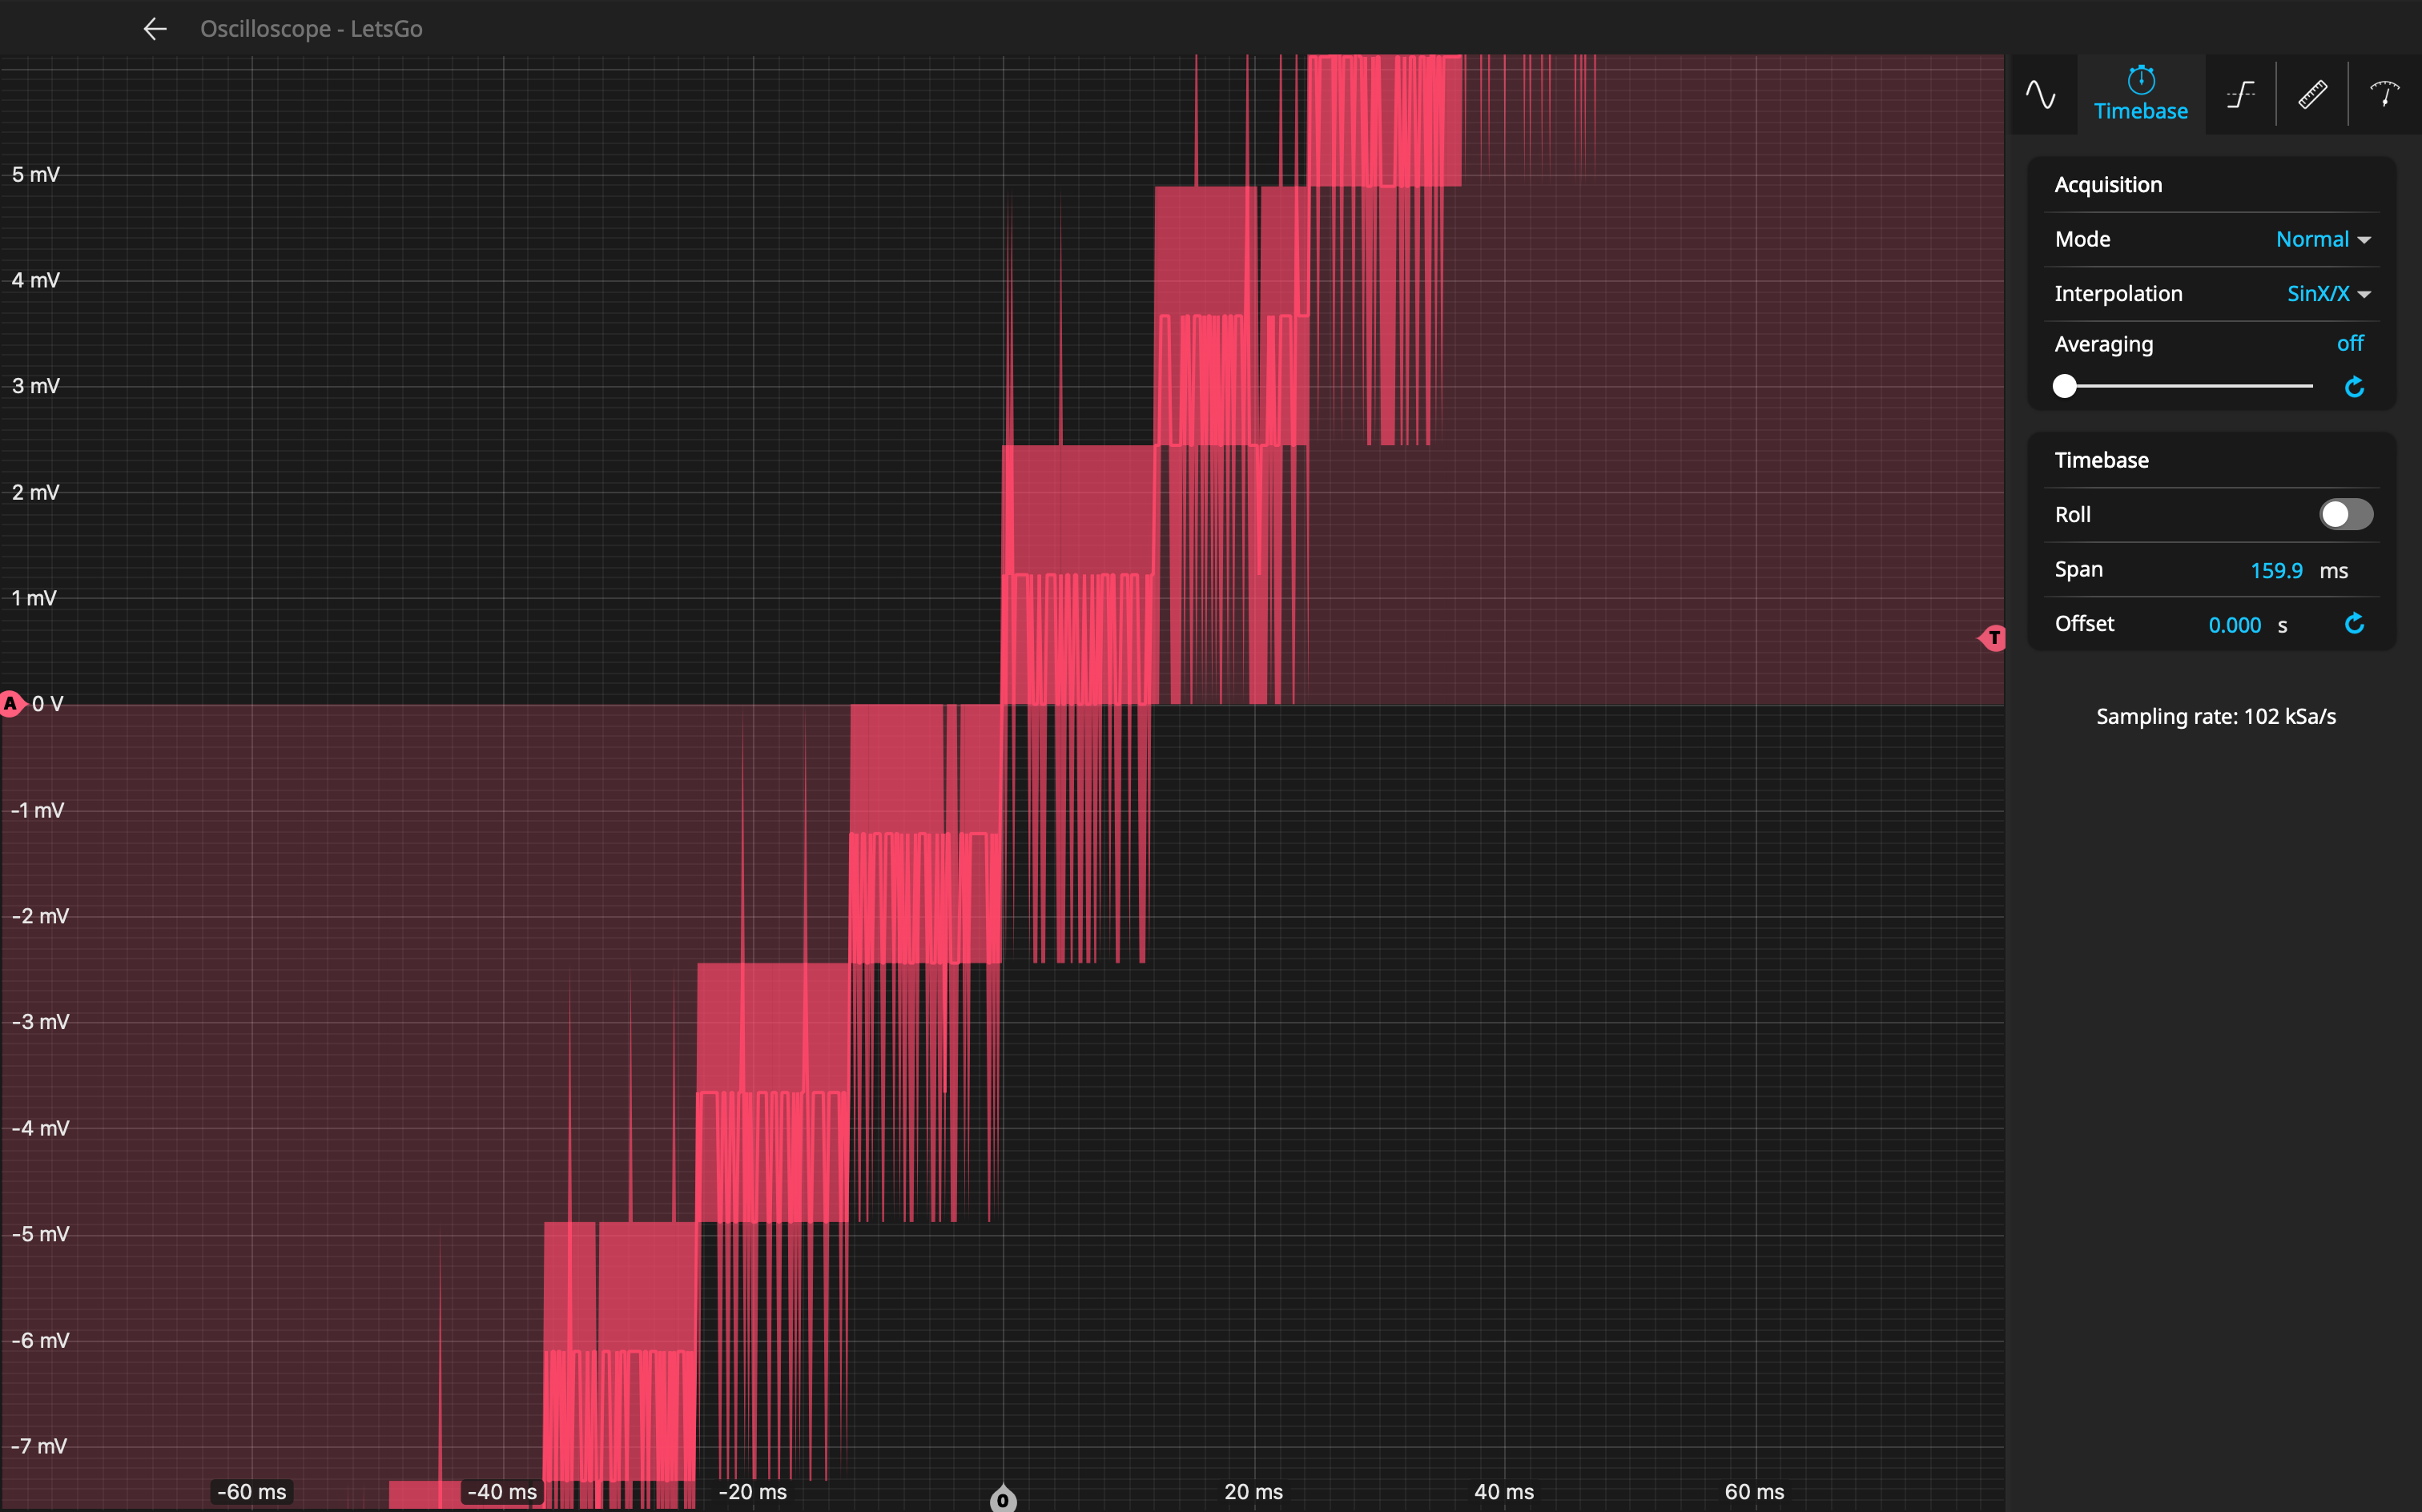 Normal Mode maintains voltage resolution and shows noise |
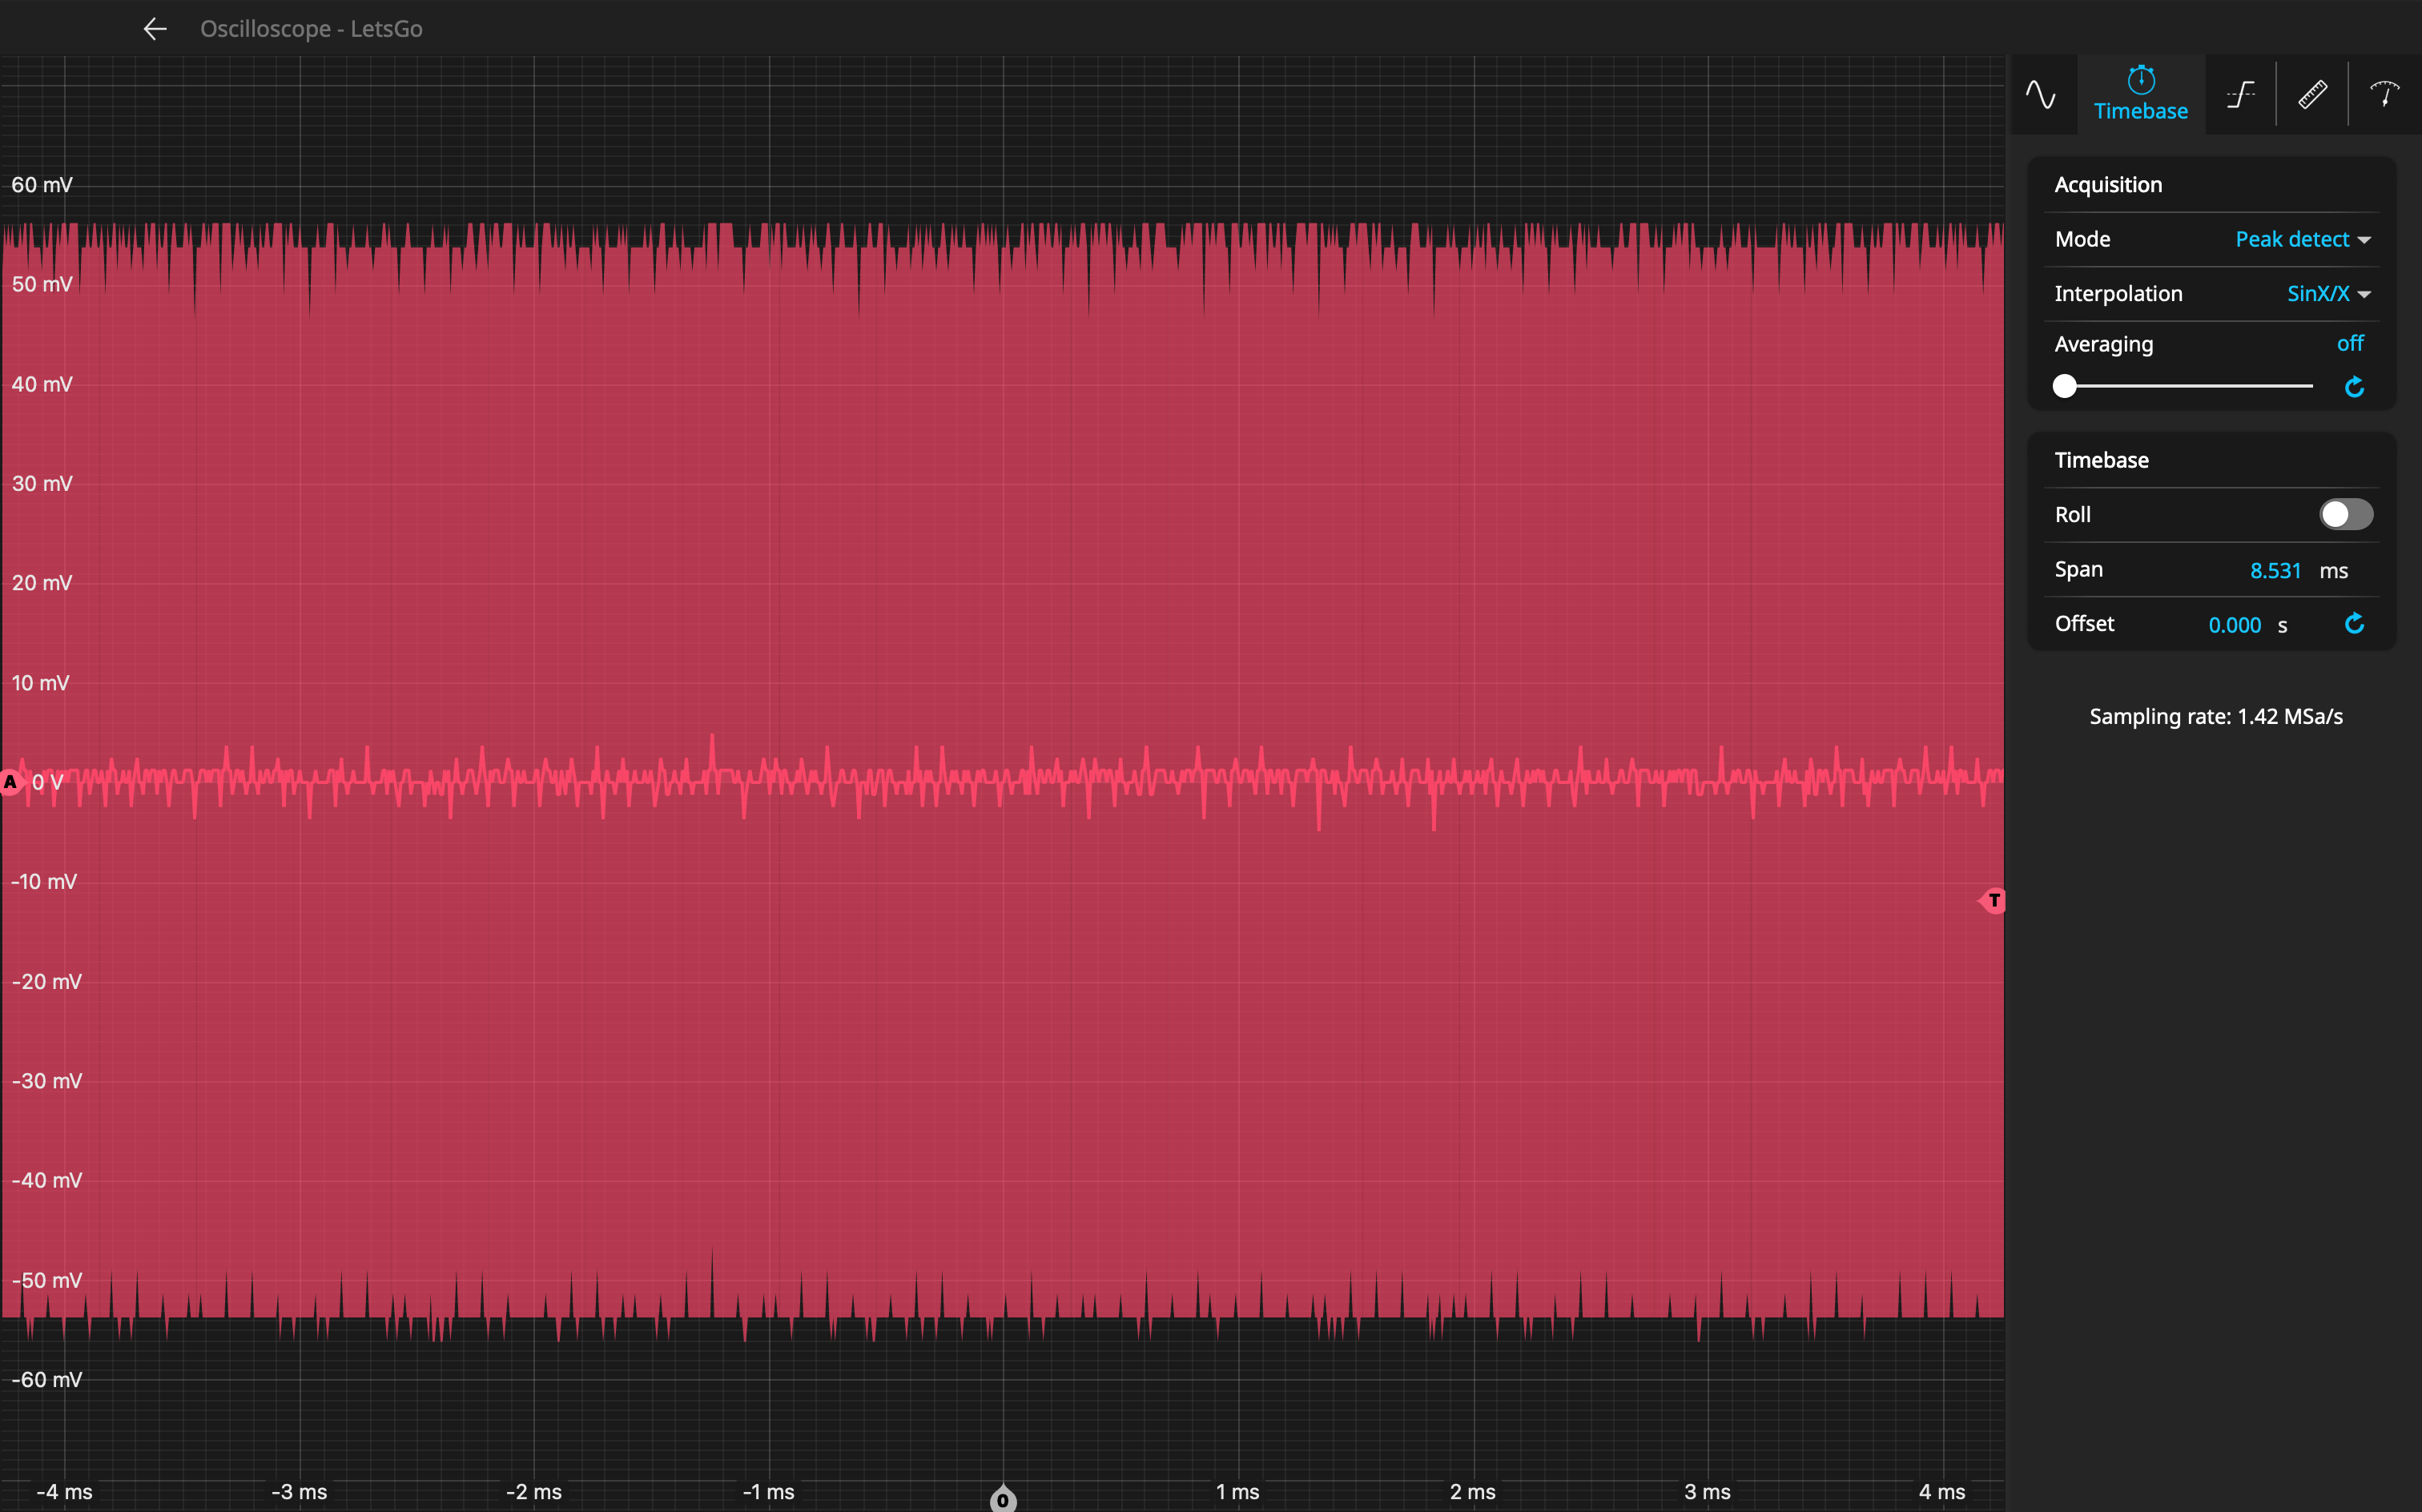
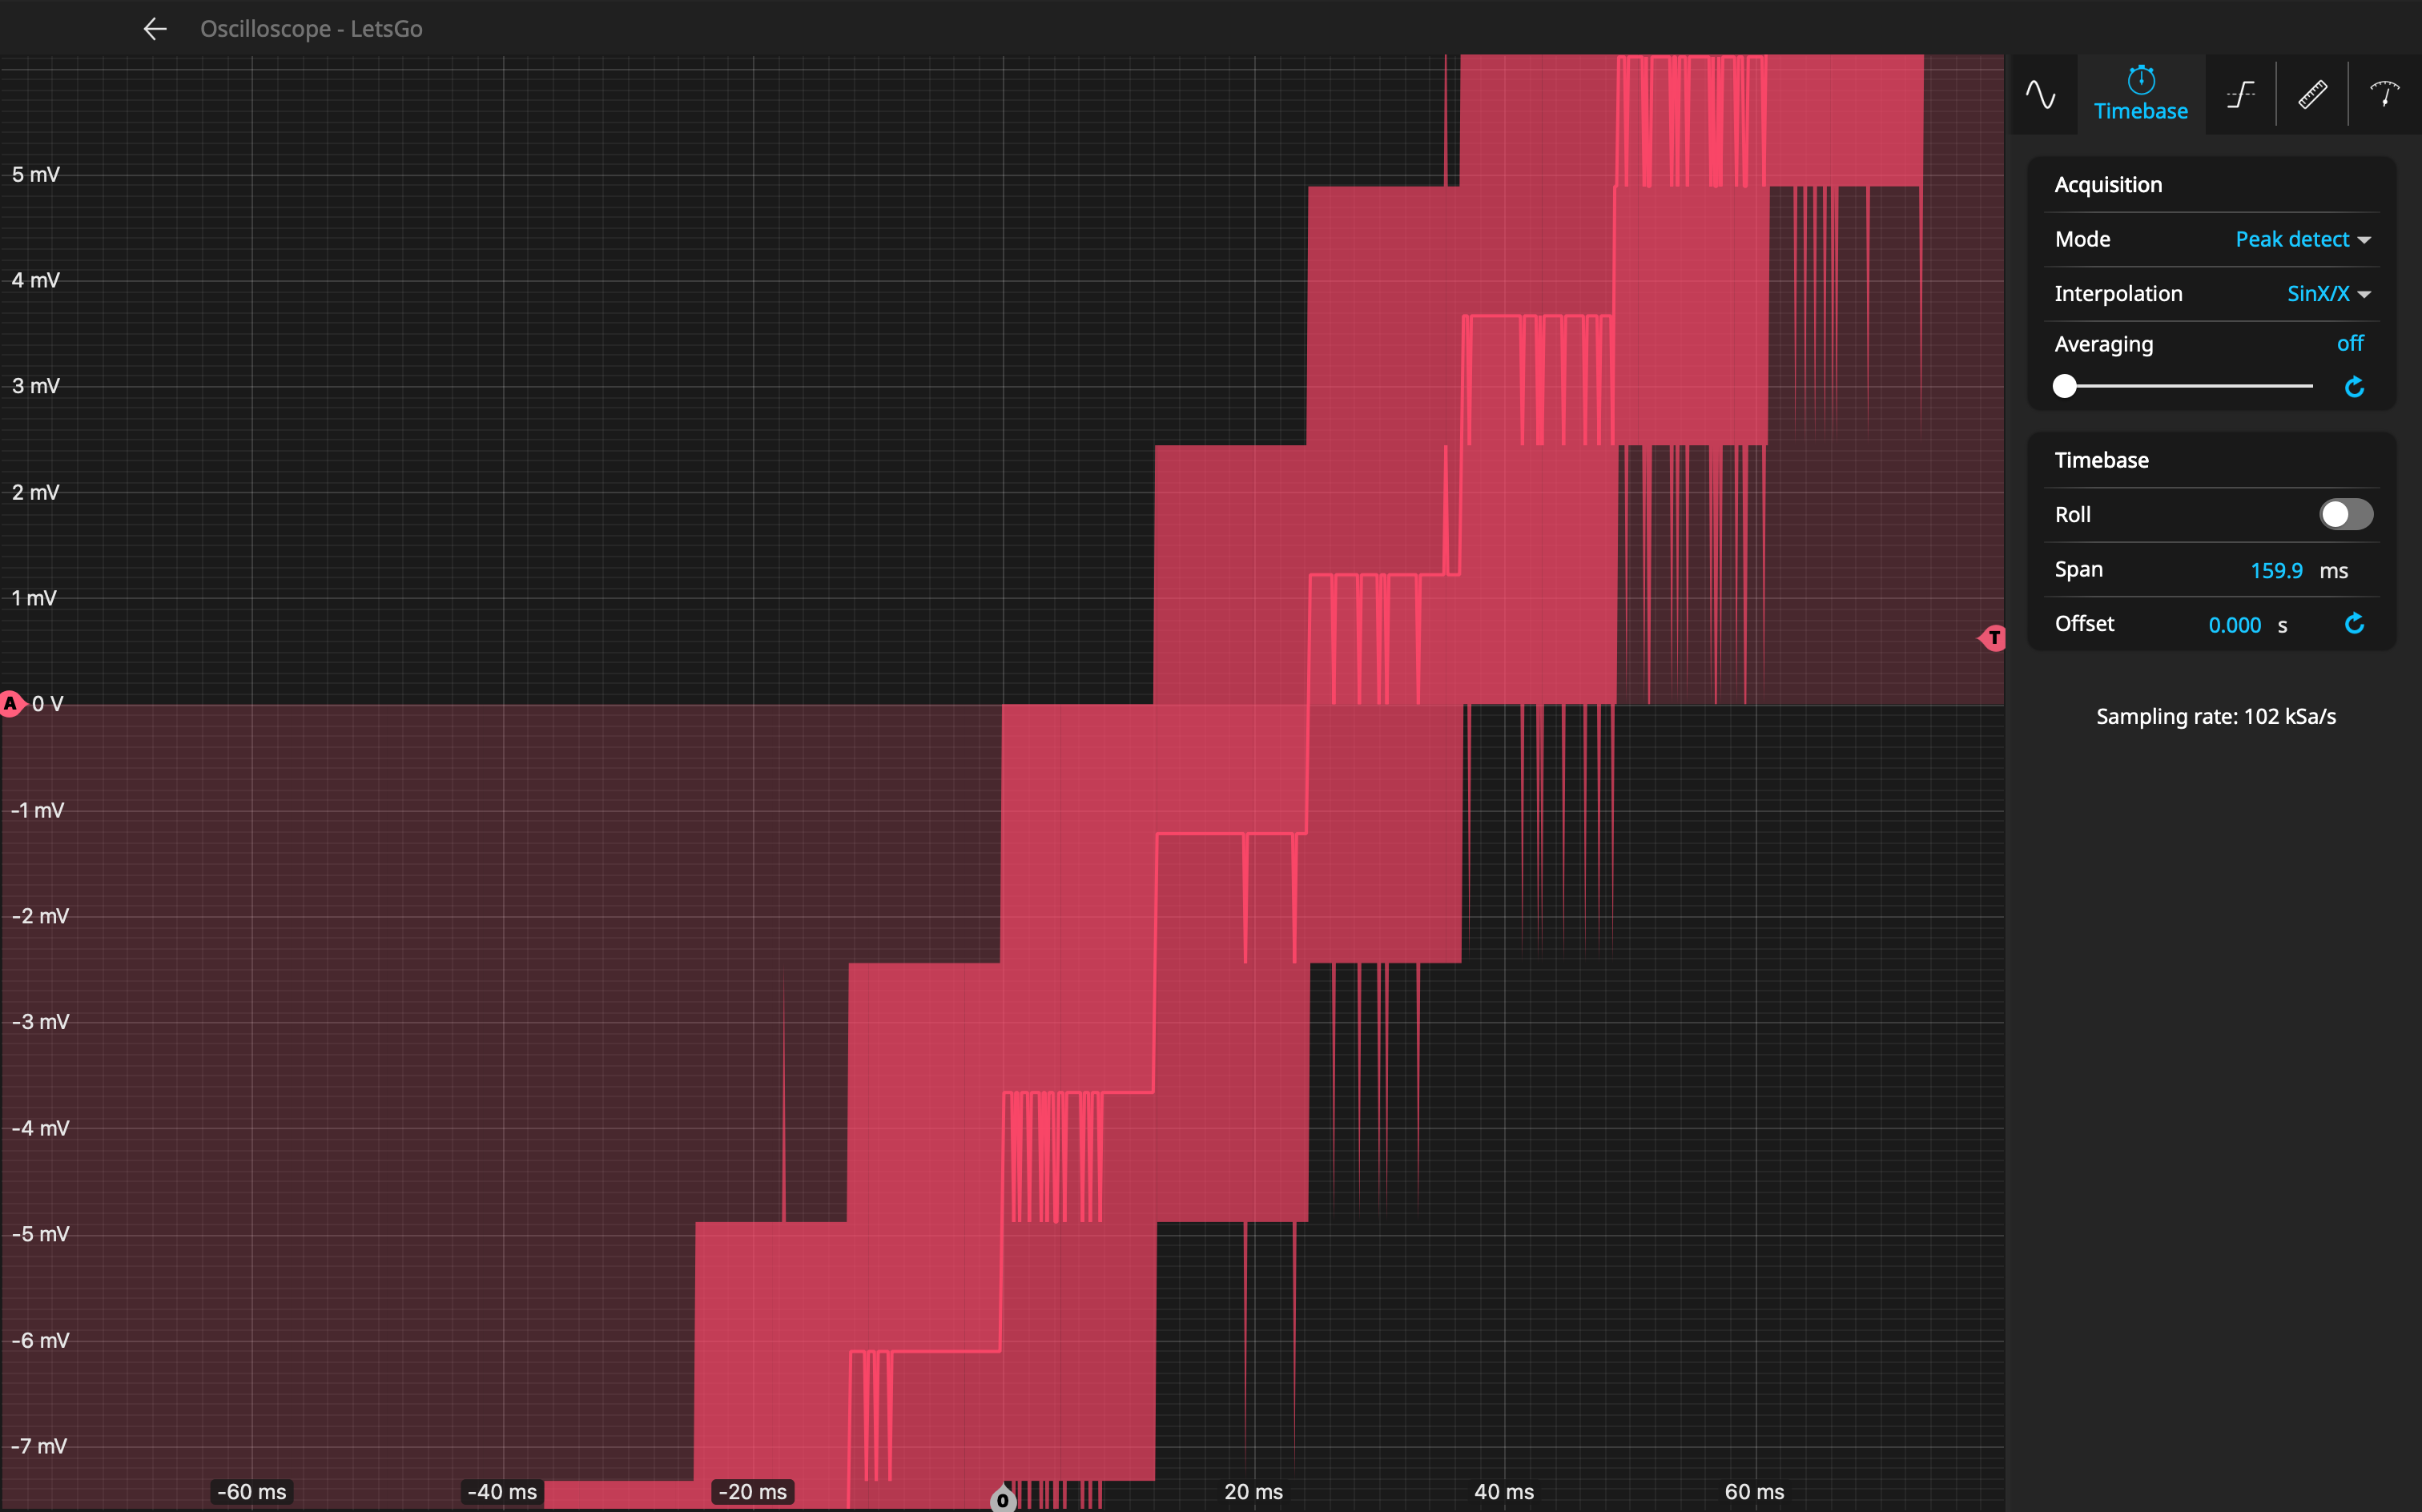 Peak Detect highlights all noise and glitches |
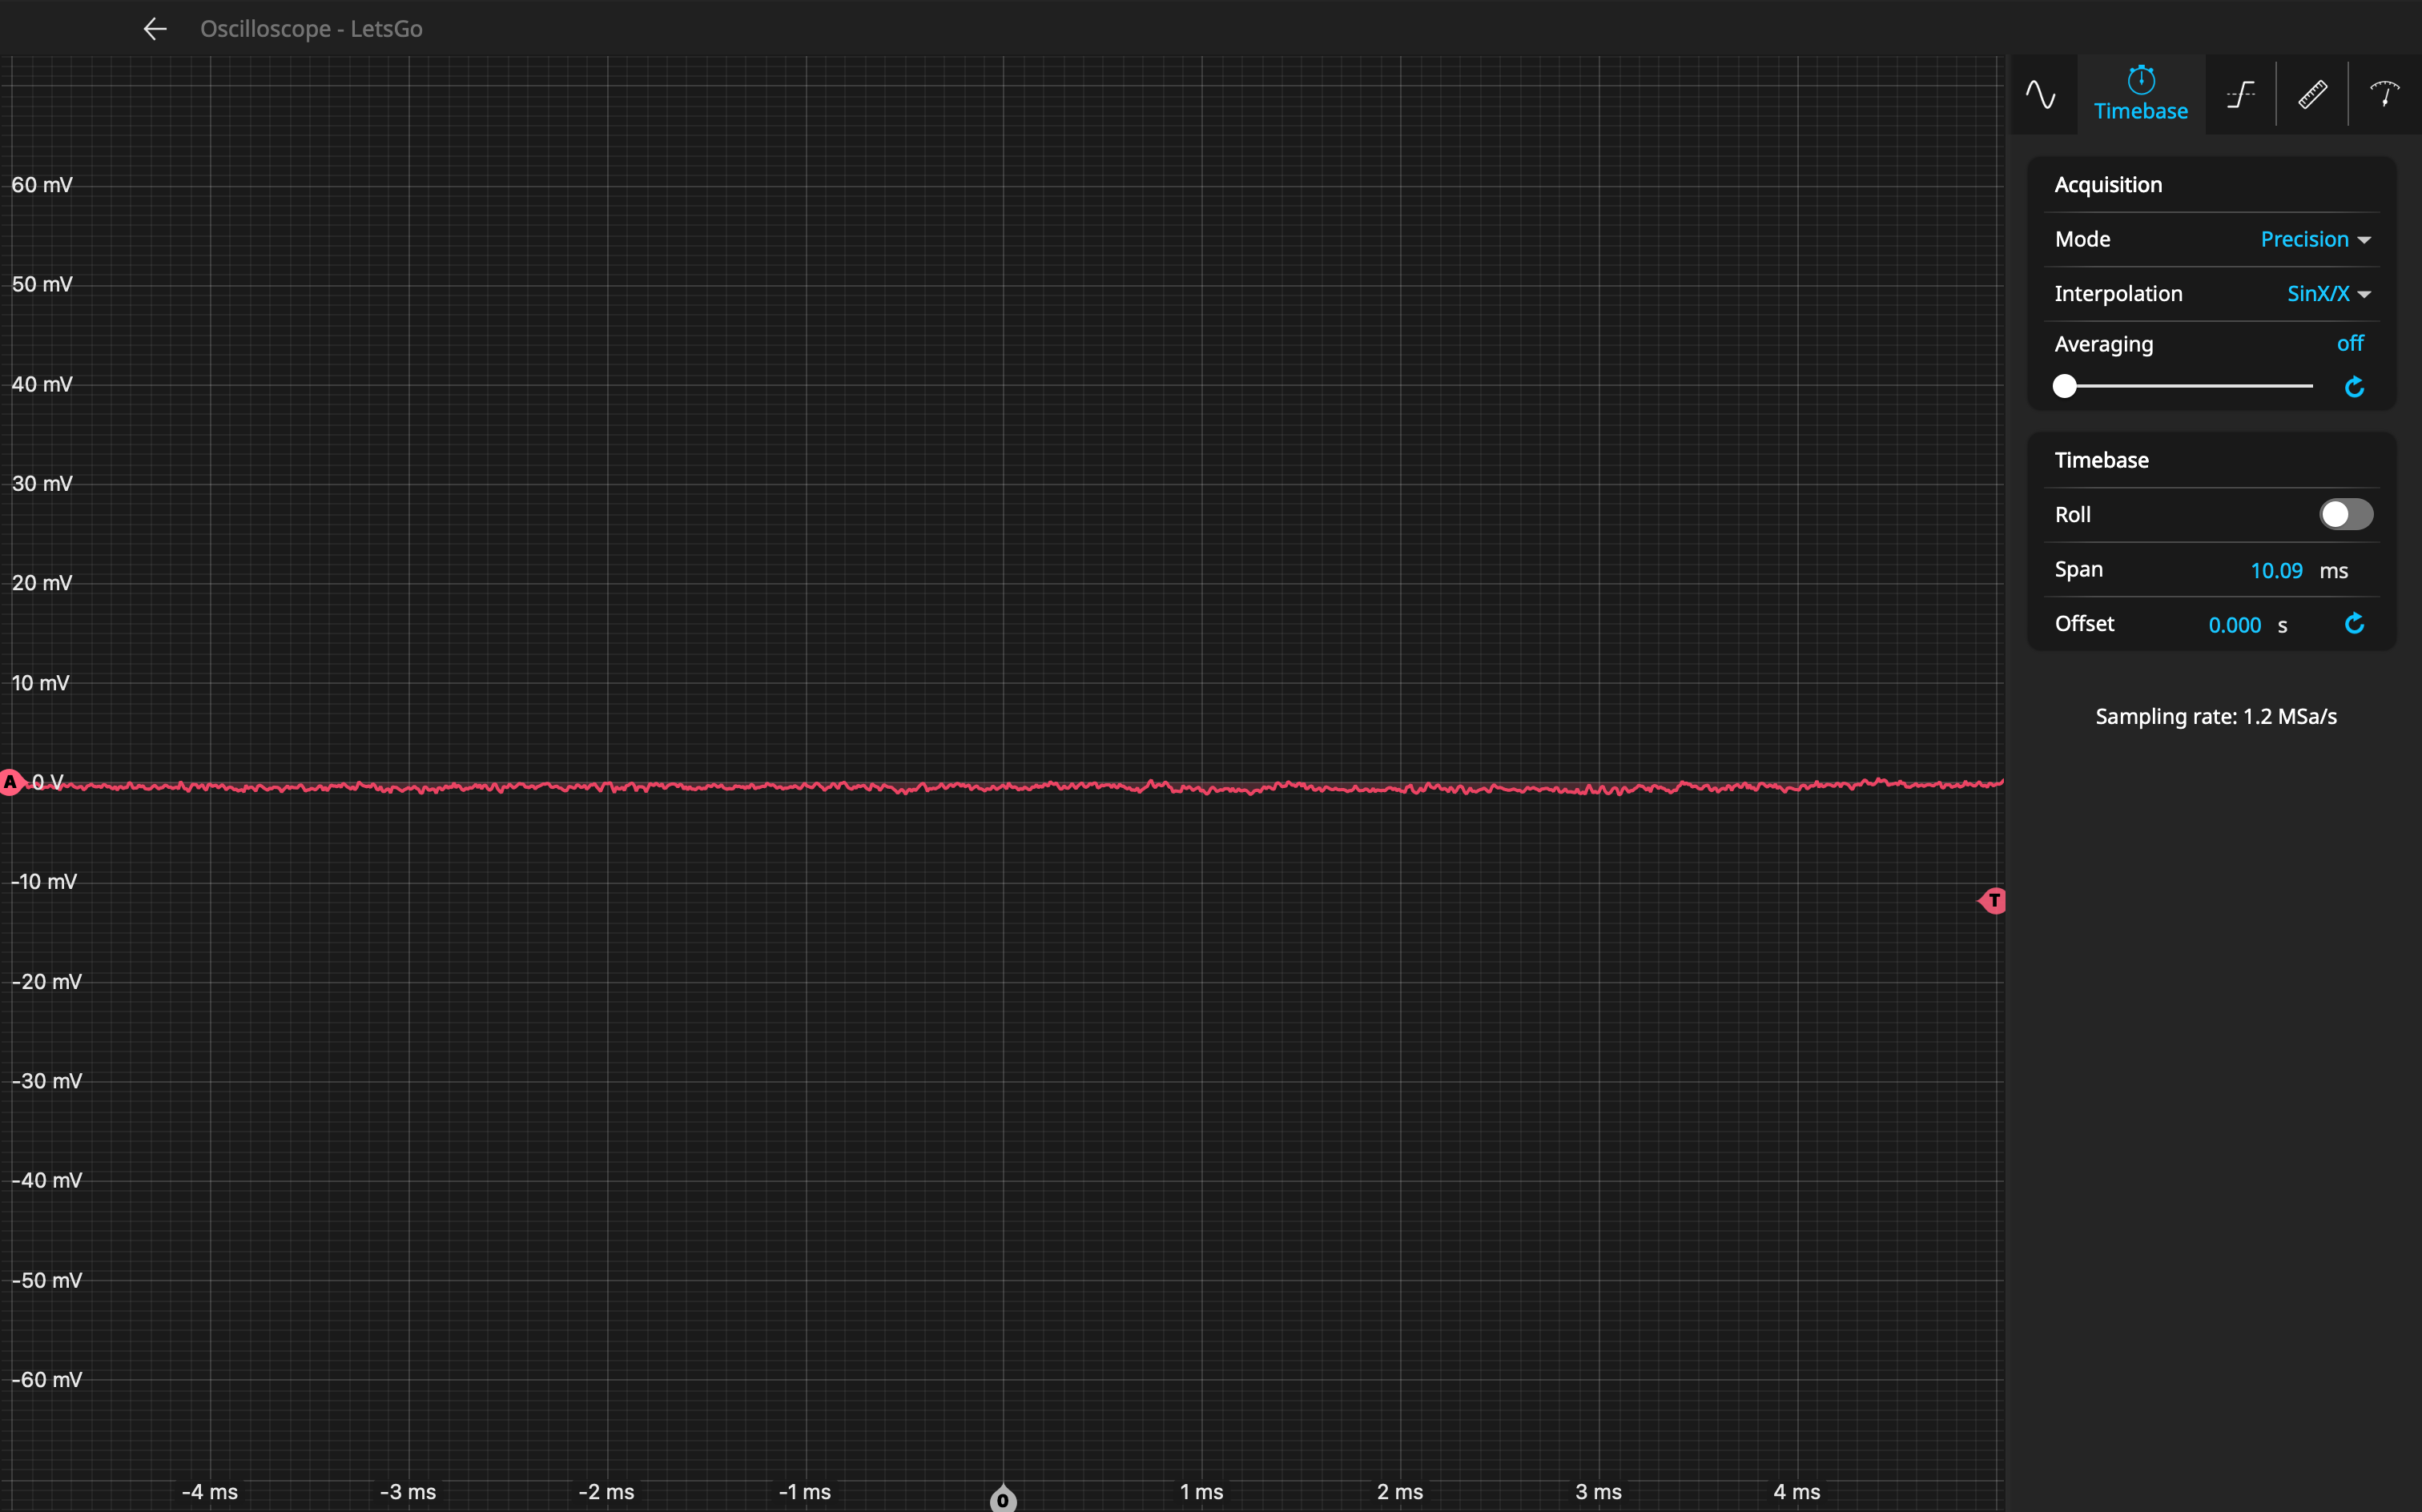
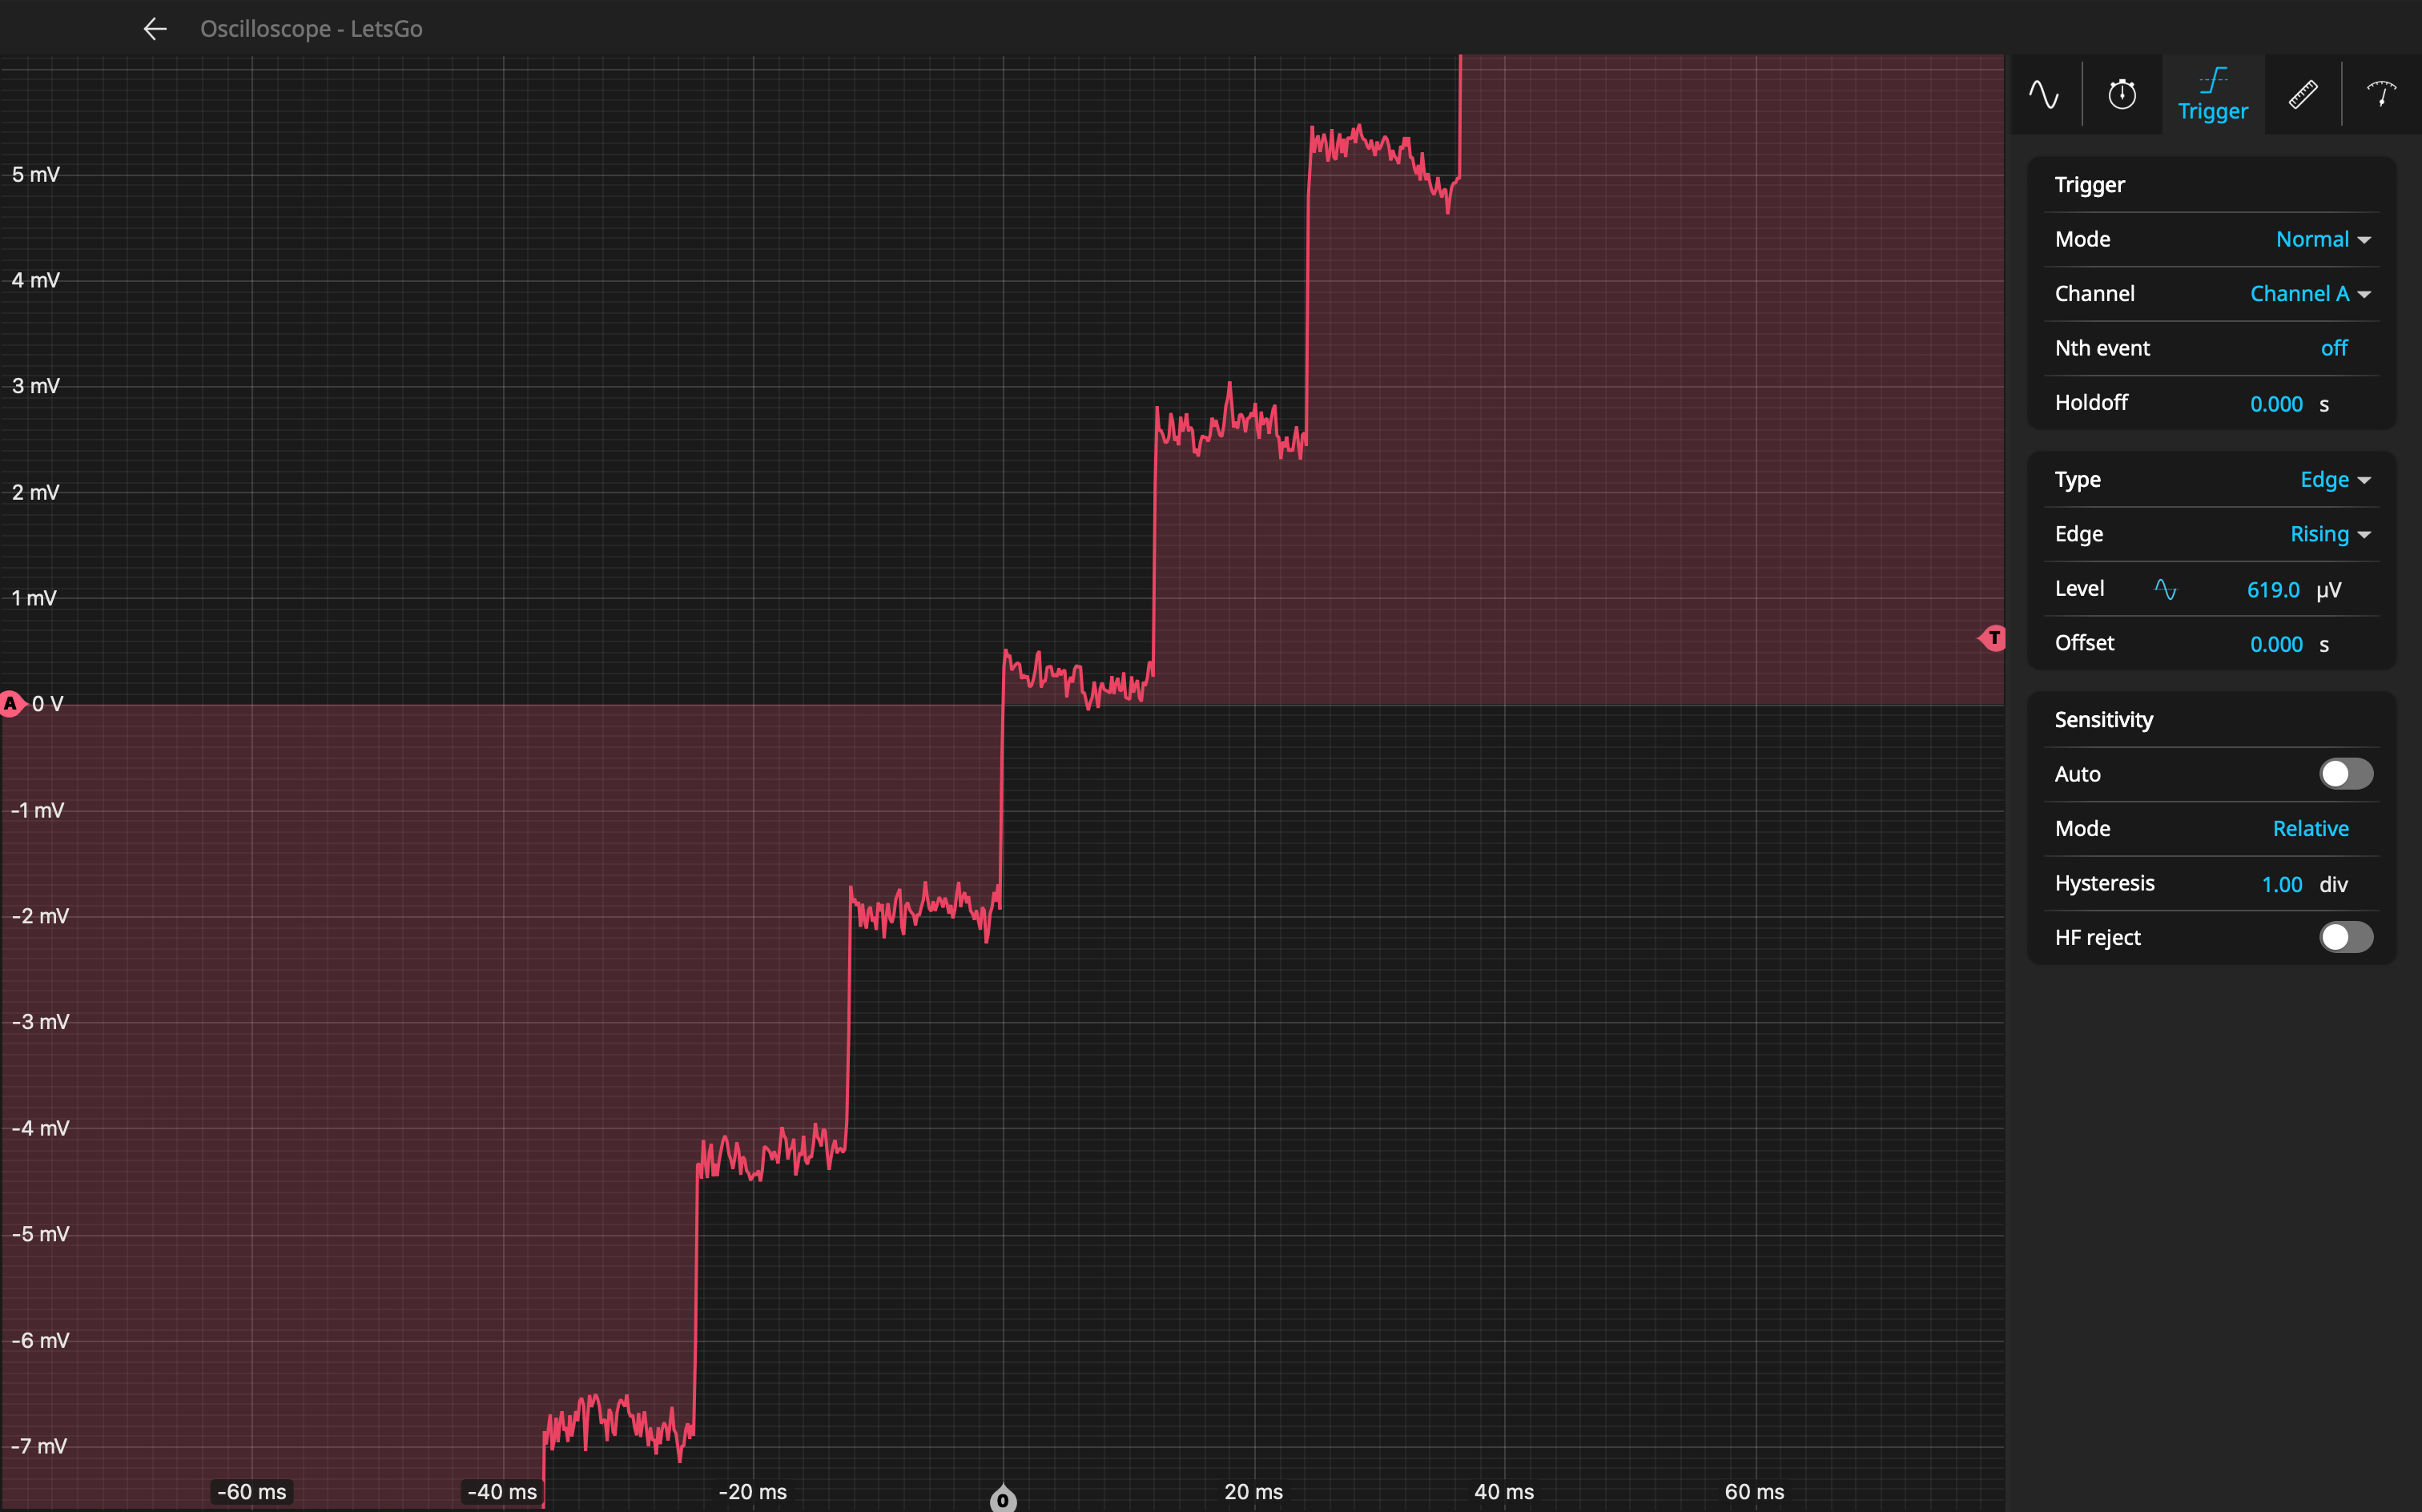 Precision Mode removes noise and improves voltage resolution |
Fast signal
 Normal Mode aliases a fast input signal |
 Peak Detect is unable to display any detail |
 Precision Mode averages the signal almost to zero |
Choosing a mode
If you want to view fast glitches or transients, use Peak Detect.
If your signal has components at multiple different frequencies, or just as a good “all rounder”, use Normal Mode.
If your signal is small and/or noisy and can benefit from improved resolution, use Precision Mode.
A common workflow is to use Normal Mode while you're connecting your signal and getting it framed correctly on the screen, then switch to Peak Detect to capture glitches or Precision Mode to improve noise performance and voltage resolution.