Setting up Python API with Anaconda

Written by Le Wang
Updated at March 3rd, 2026
-
Moku:Go
Moku:Go General Moku:Go Arbitrary Waveform Generator Moku:Go Data Logger Moku:Go Digital Filter Box Moku:Go FIR Filter Builder Moku:Go Frequency Response Analyzer Moku:Go Logic Analyzer & Pattern Generator Moku:Go Oscilloscope & Voltmeter Moku:Go PID Controller Moku:Go Spectrum Analyzer Moku:Go Waveform Generator Moku:Go Power Supplies Moku:Go Lock-in Amplifier Moku:Go Time & Frequency Analyzer Moku:Go Laser Lock Box Moku:Go Phasemeter
-
Moku:Lab
Moku:Lab General Moku:Lab Arbitrary Waveform Generator Moku:Lab Data Logger Moku:Lab Digital Filter Box Moku:Lab FIR Filter Builder Moku:Lab Frequency Response Analyzer Moku:Lab Laser Lock Box Moku:Lab Lock-in Amplifier Moku:Lab Oscilloscope Moku:Lab Phasemeter Moku:Lab PID Controller Moku:Lab Spectrum Analyzer Moku:Lab Time & Frequency Analyzer Moku:Lab Waveform Generator Moku:Lab Logic Analyzer/Pattern Generator
-
Moku:Pro
Moku:Pro General Moku:Pro Arbitrary Waveform Generator Moku:Pro Data Logger Moku:Pro Frequency Response Analyzer Moku:Pro Oscilloscope Moku:Pro PID Controller Moku:Pro Spectrum Analyzer Moku:Pro Waveform Generator Moku:Pro Lock-in Amplifier Moku:Pro Laser Lock Box Moku:Pro Digital Filter Box Moku:Pro FIR Filter Builder Moku:Pro Phasemeter Moku:Pro Multi-instrument Mode Moku:Pro Logic Analyzer/Pattern Generator Moku:Pro Time & Frequency Analyzer
- Python API
- MATLAB API
- Arbitrary Waveform Generator
- Data Logger
- Digital Filter Box
- FIR Filter Builder
- Frequency Response Analyzer
- Laser Lock Box
- Lock-in Amplifier
- Oscilloscope
- Phasemeter
- PID Controller
- Spectrum Analyzer
- Time & Frequency Analyzer
- Waveform Generator
- Logic Analyzer & Pattern Generator
- Multi Instrument Mode
- Moku Cloud Compile
- Moku general
- LabVIEW
- mokucli
You can use APIs for commanding, controlling, and monitoring Moku devices. This guide will walk you through the installation and configuration process of Python APIs using Anaconda on both Windows and Mac operating systems.
→ For Windows system
Downloading Moku CLI and setting environment variables
Moku CLI (mokucli) is a command line utility to quickly access various features of the Moku hardware. It is also used internally by various client driver packages for multiple functions such as decoding data streams.
The latest Moku CLI packages are available to download from Utilities. The installation wizard will configure everything needed to launch the CLI.
Installing Anaconda, Moku library, and Moku data files
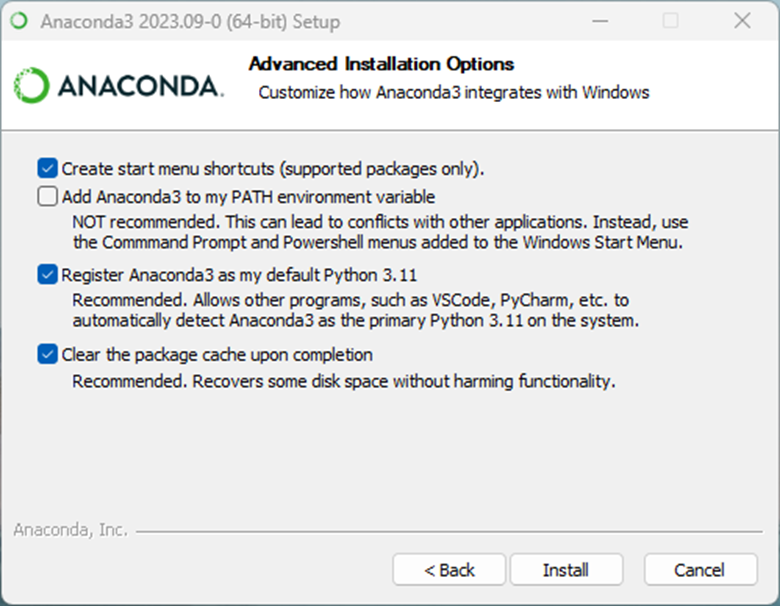
- Download Anaconda and follow the installation setup instructions.
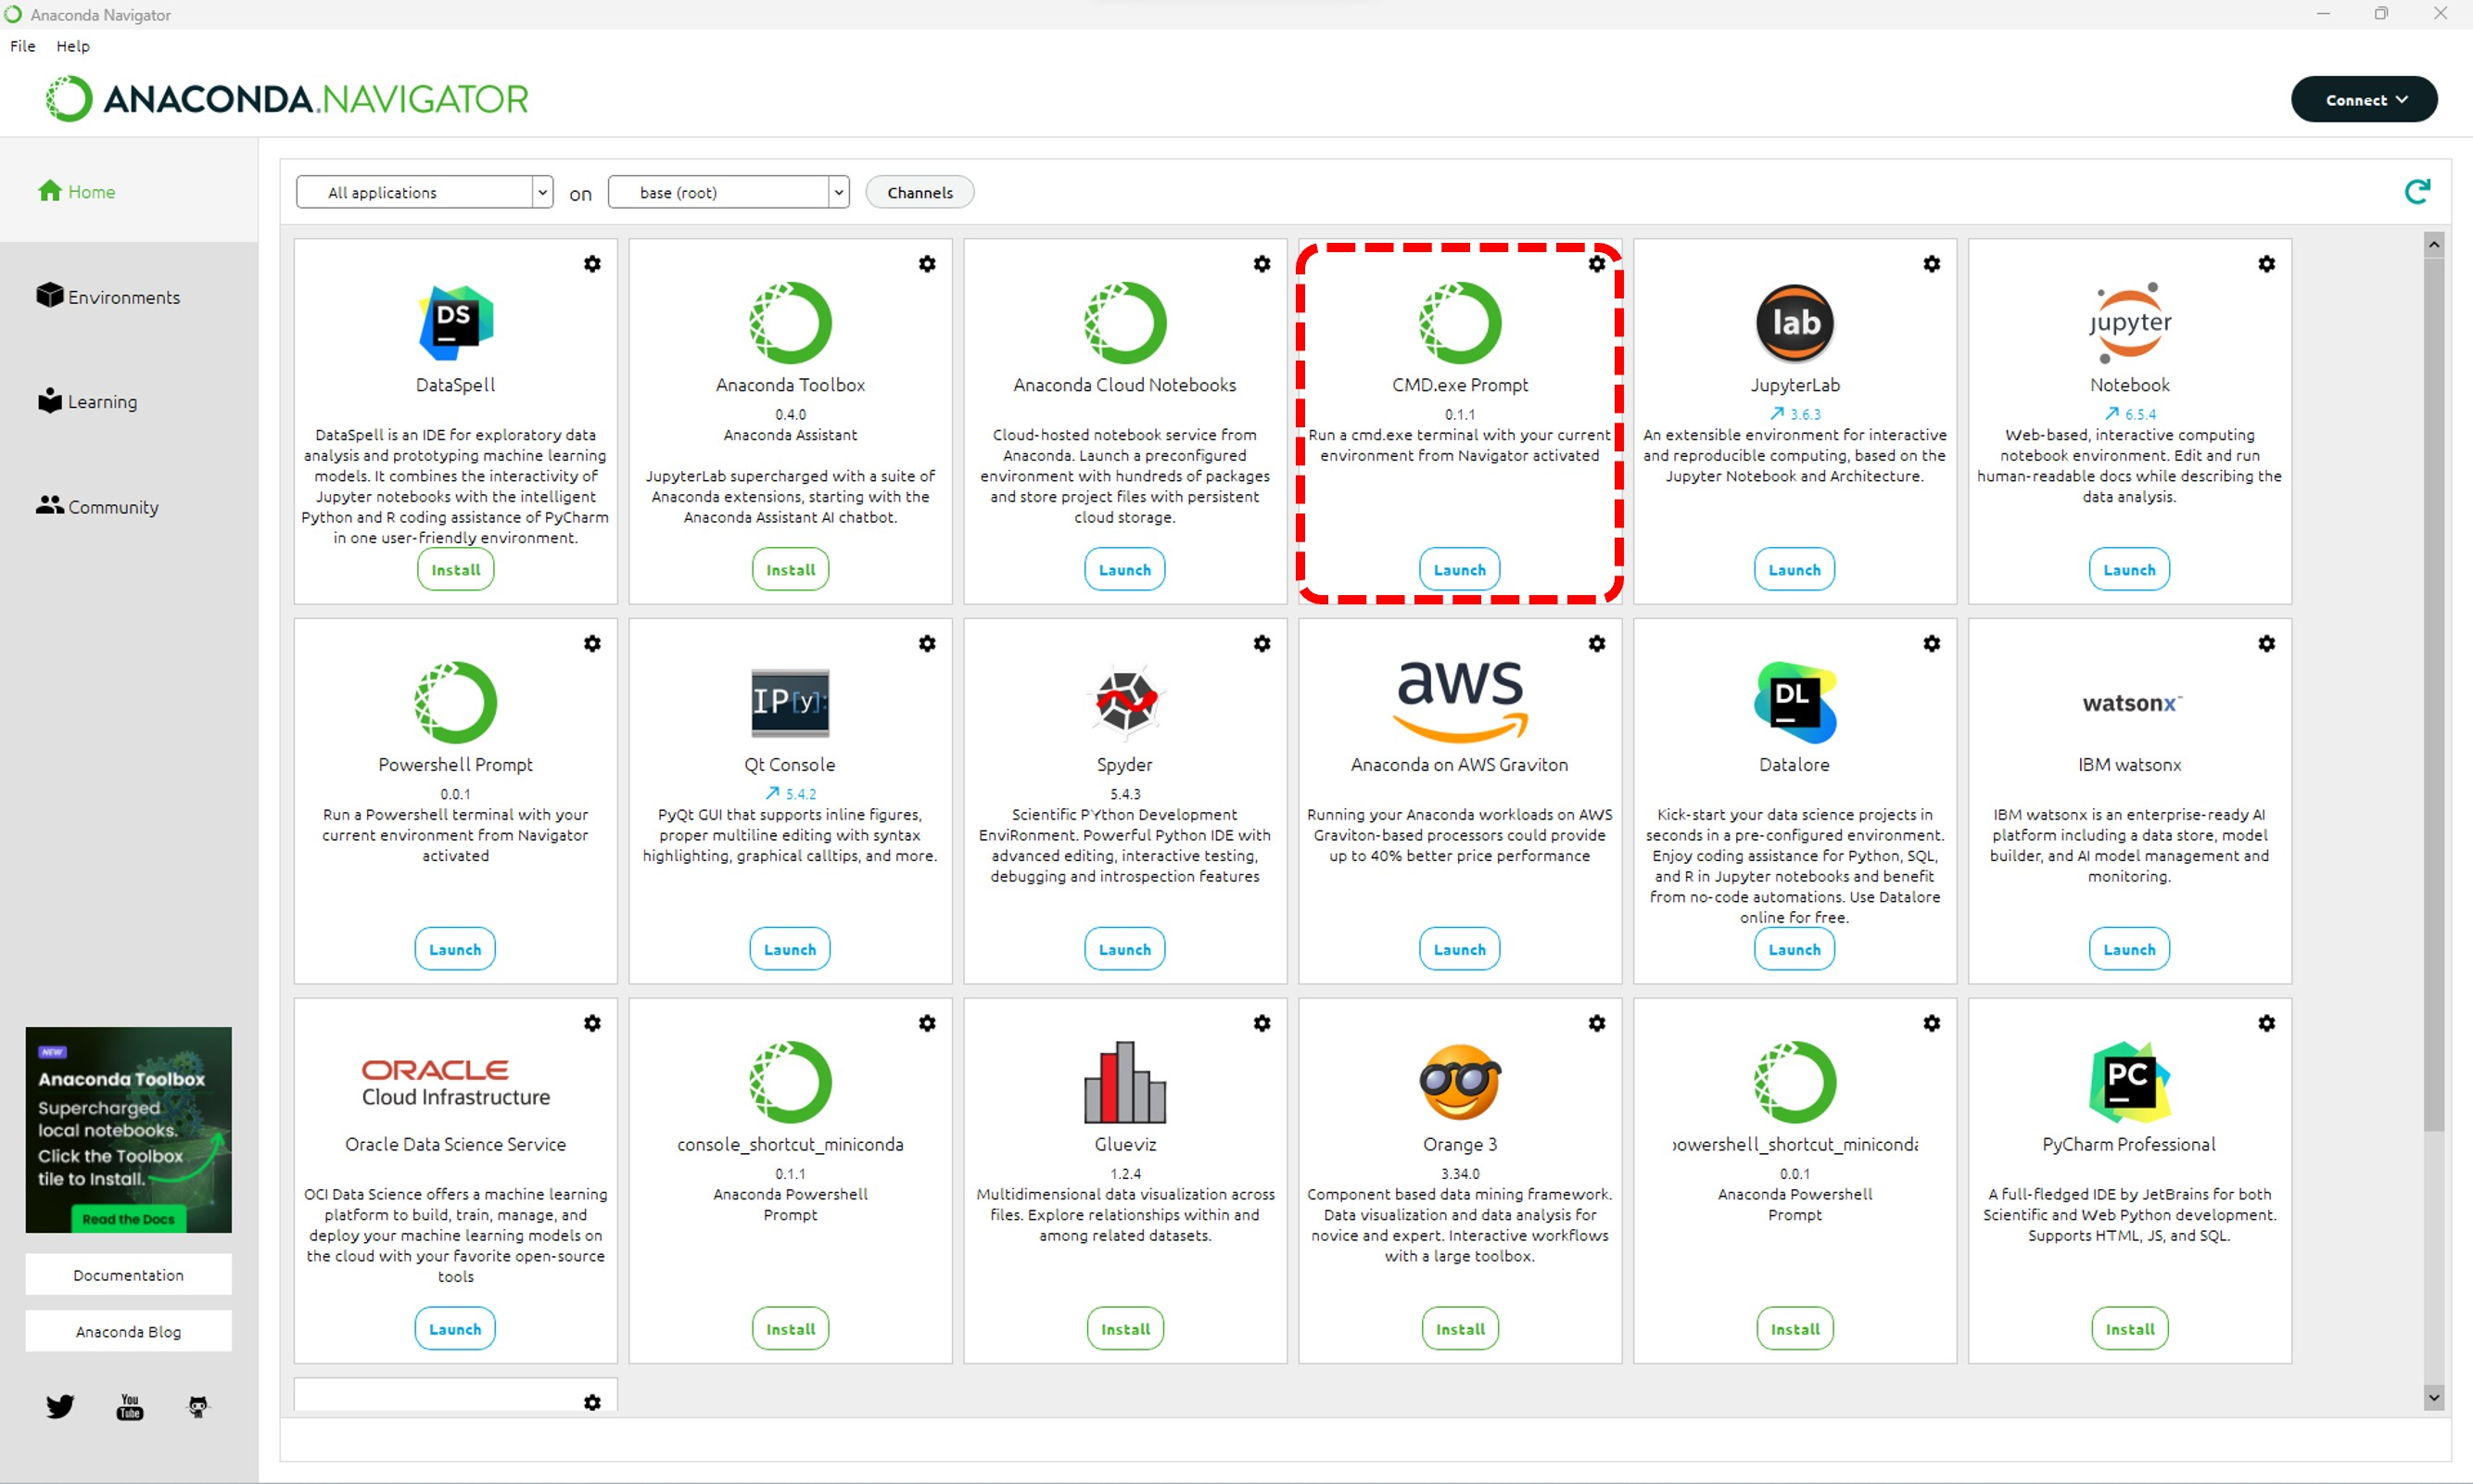
- When the installation is complete, open Anaconda Navigator (version 2.5.1 in this demo) and launch CMD.exe Prompt.
- At the command prompt, install the
mokulibrary usingpip. A successful installation will be indicated as shown in the screenshot.

- At the command prompt, issue the
mokucli instrument downloadcommand. This step downloads Moku data files for all instruments, and it is only required to be run whenever you install or upgrade the Moku library. A version number is required. As of time of writing, the latest MokuOS version is 4.1.2.

- From the command line, execute
moku listcommand. This step automatically displays all Moku devices on your network, and it also helps identify Moku's IP addresses. For more detail and other options, see Finding your IP Address.

Running your first program
To validate the successful installation of Moku package, we now run a Python example of Moku Oscilloscope.
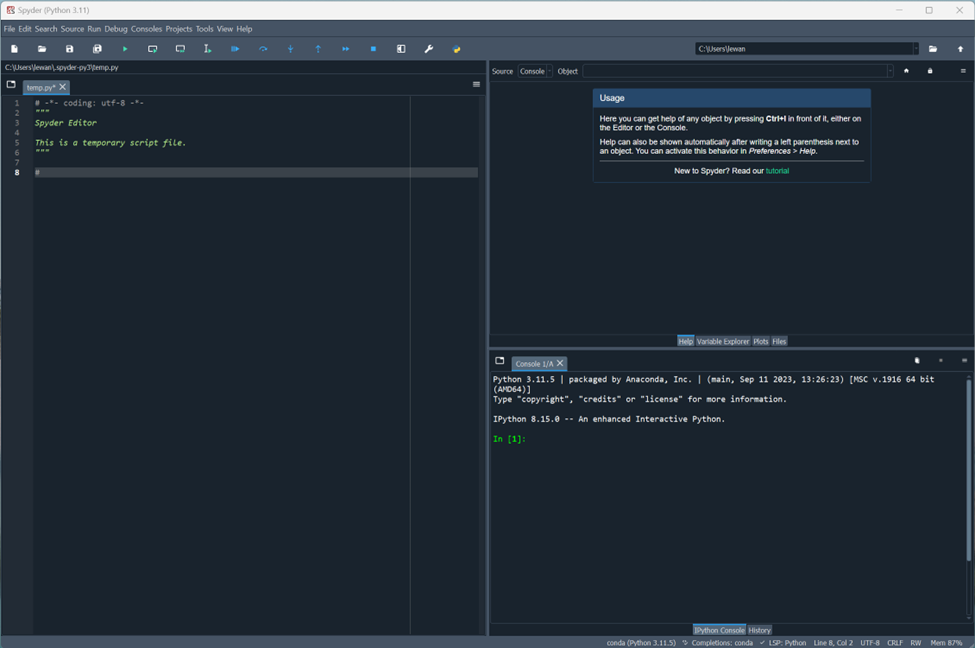
- From the Anaconda Navigator, launch Spyder.
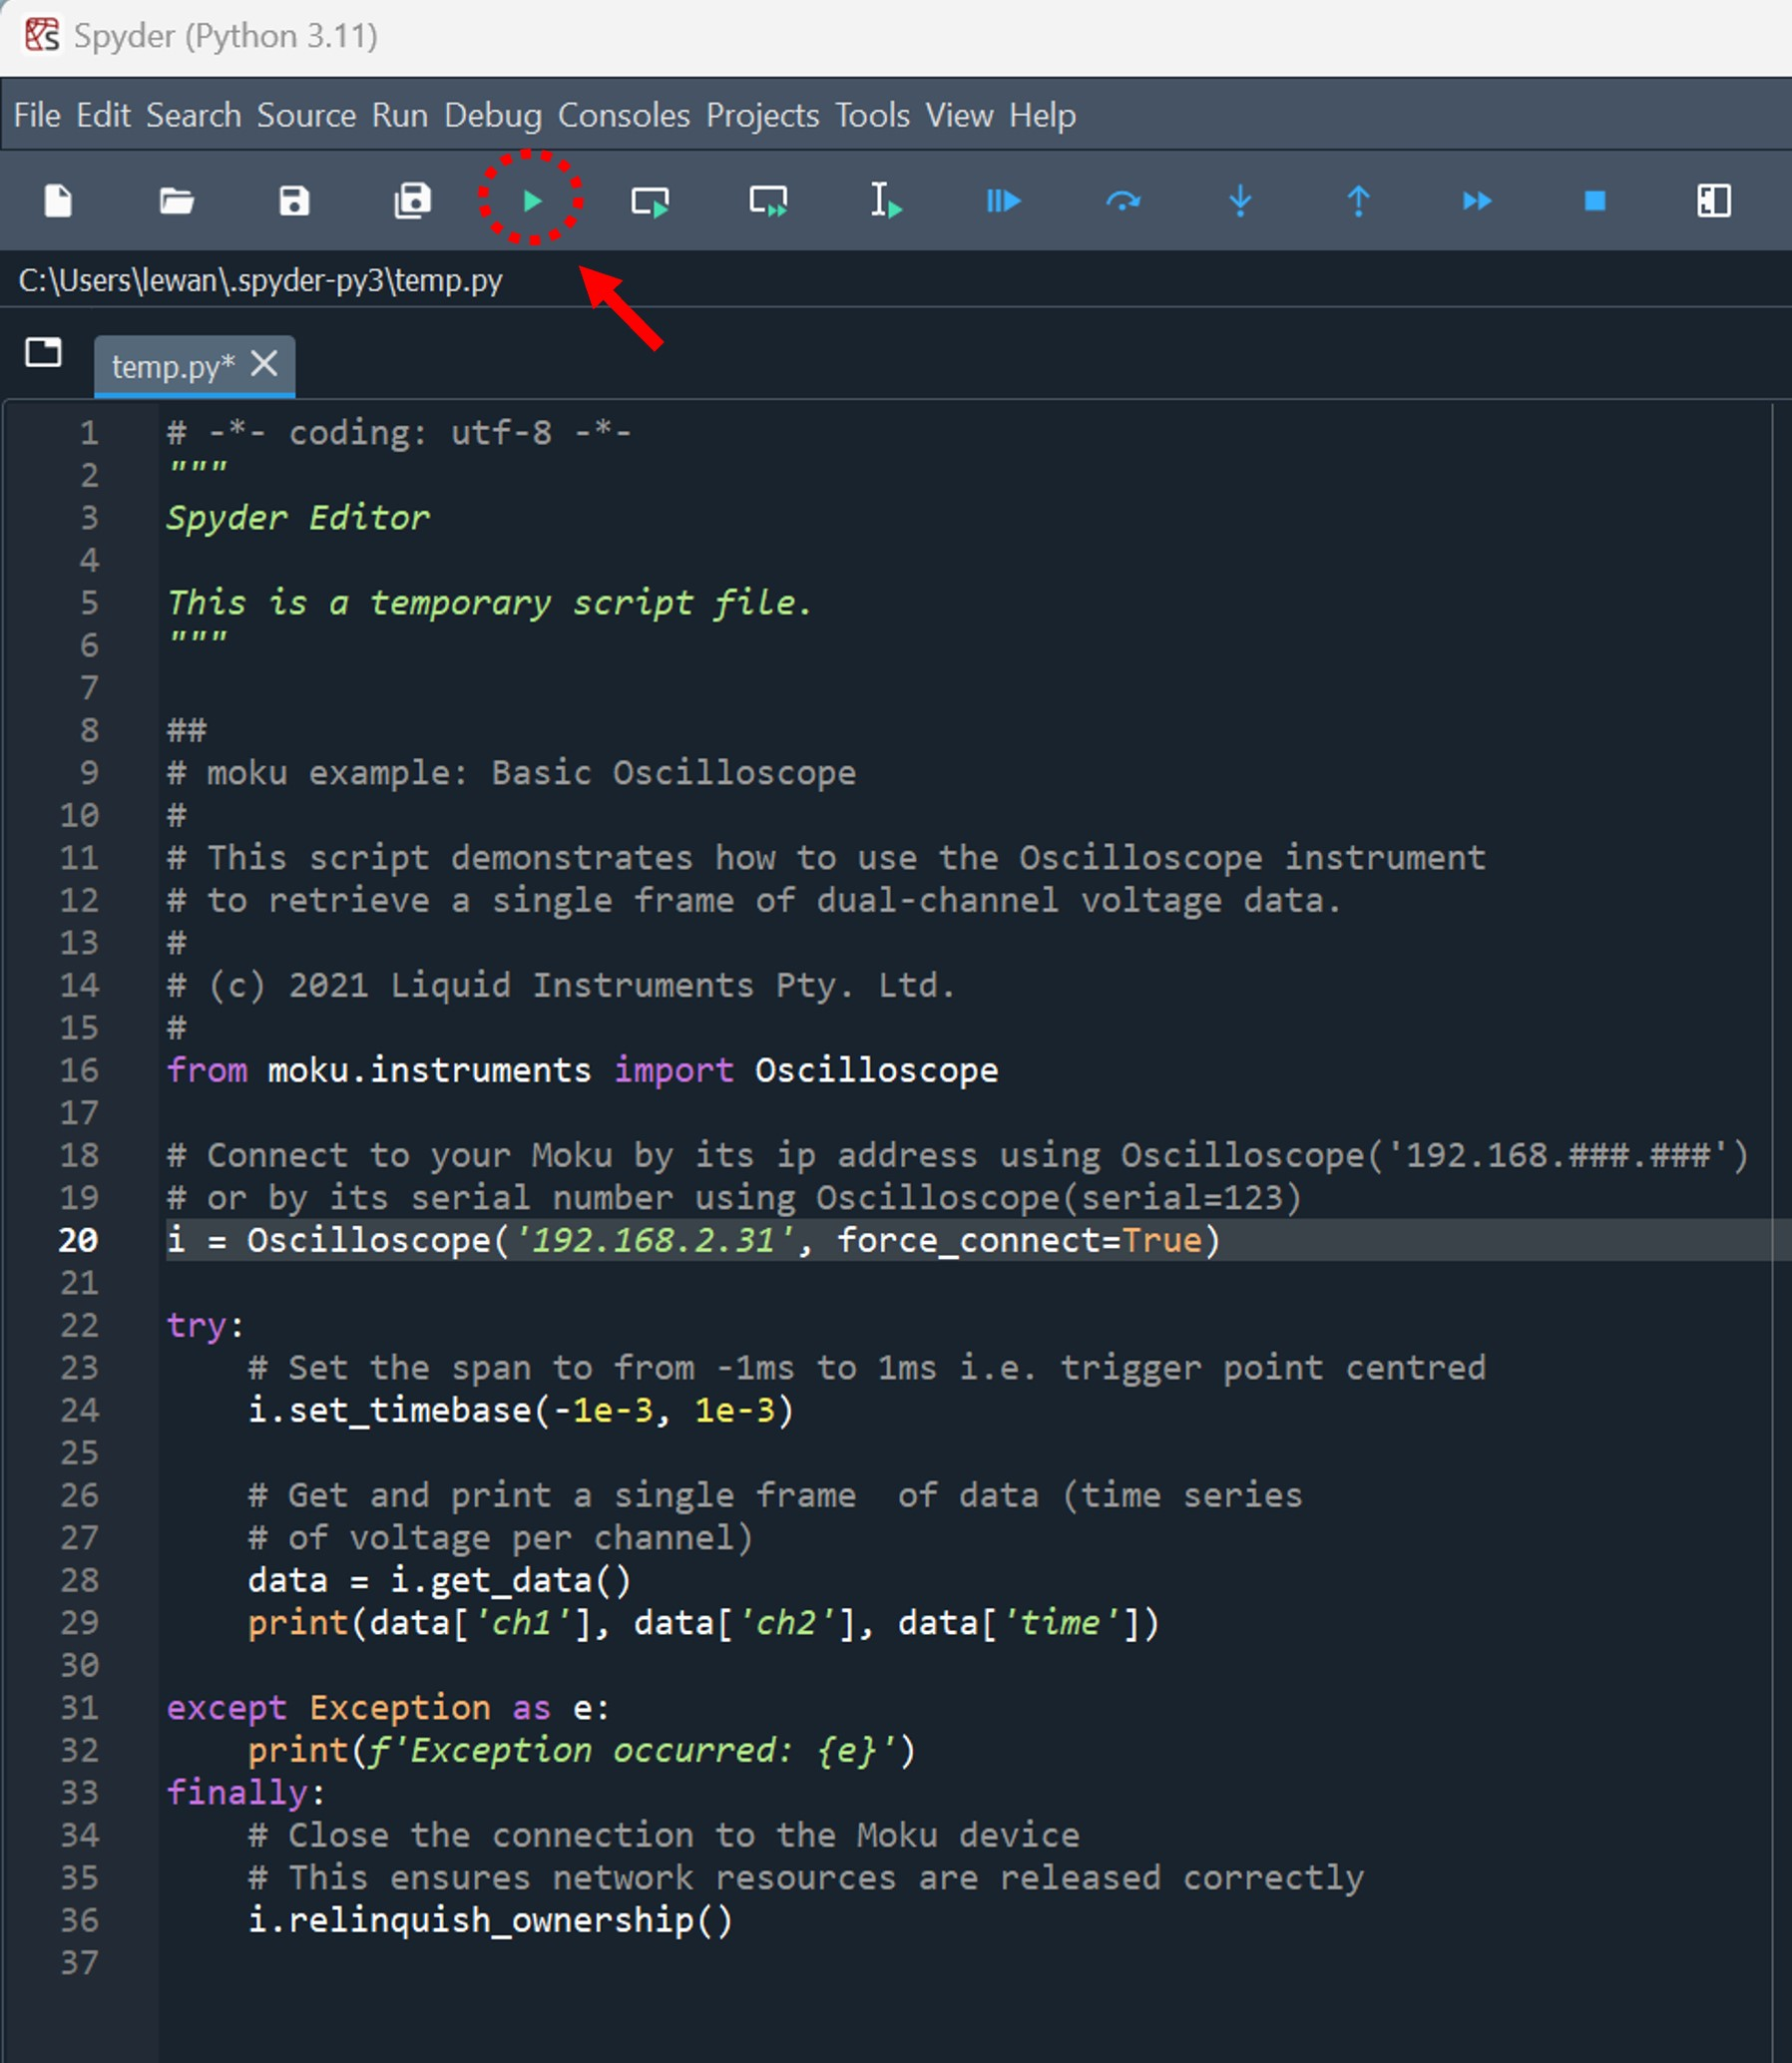
- Paste the example Python code for Moku Oscilloscope into the workspace. Don't forget to modify the IP address to the specific ones of your devices, and change the value of
force_connecttoTrue. Then click “Run file” highlighted in red in the screenshot to execute the code.
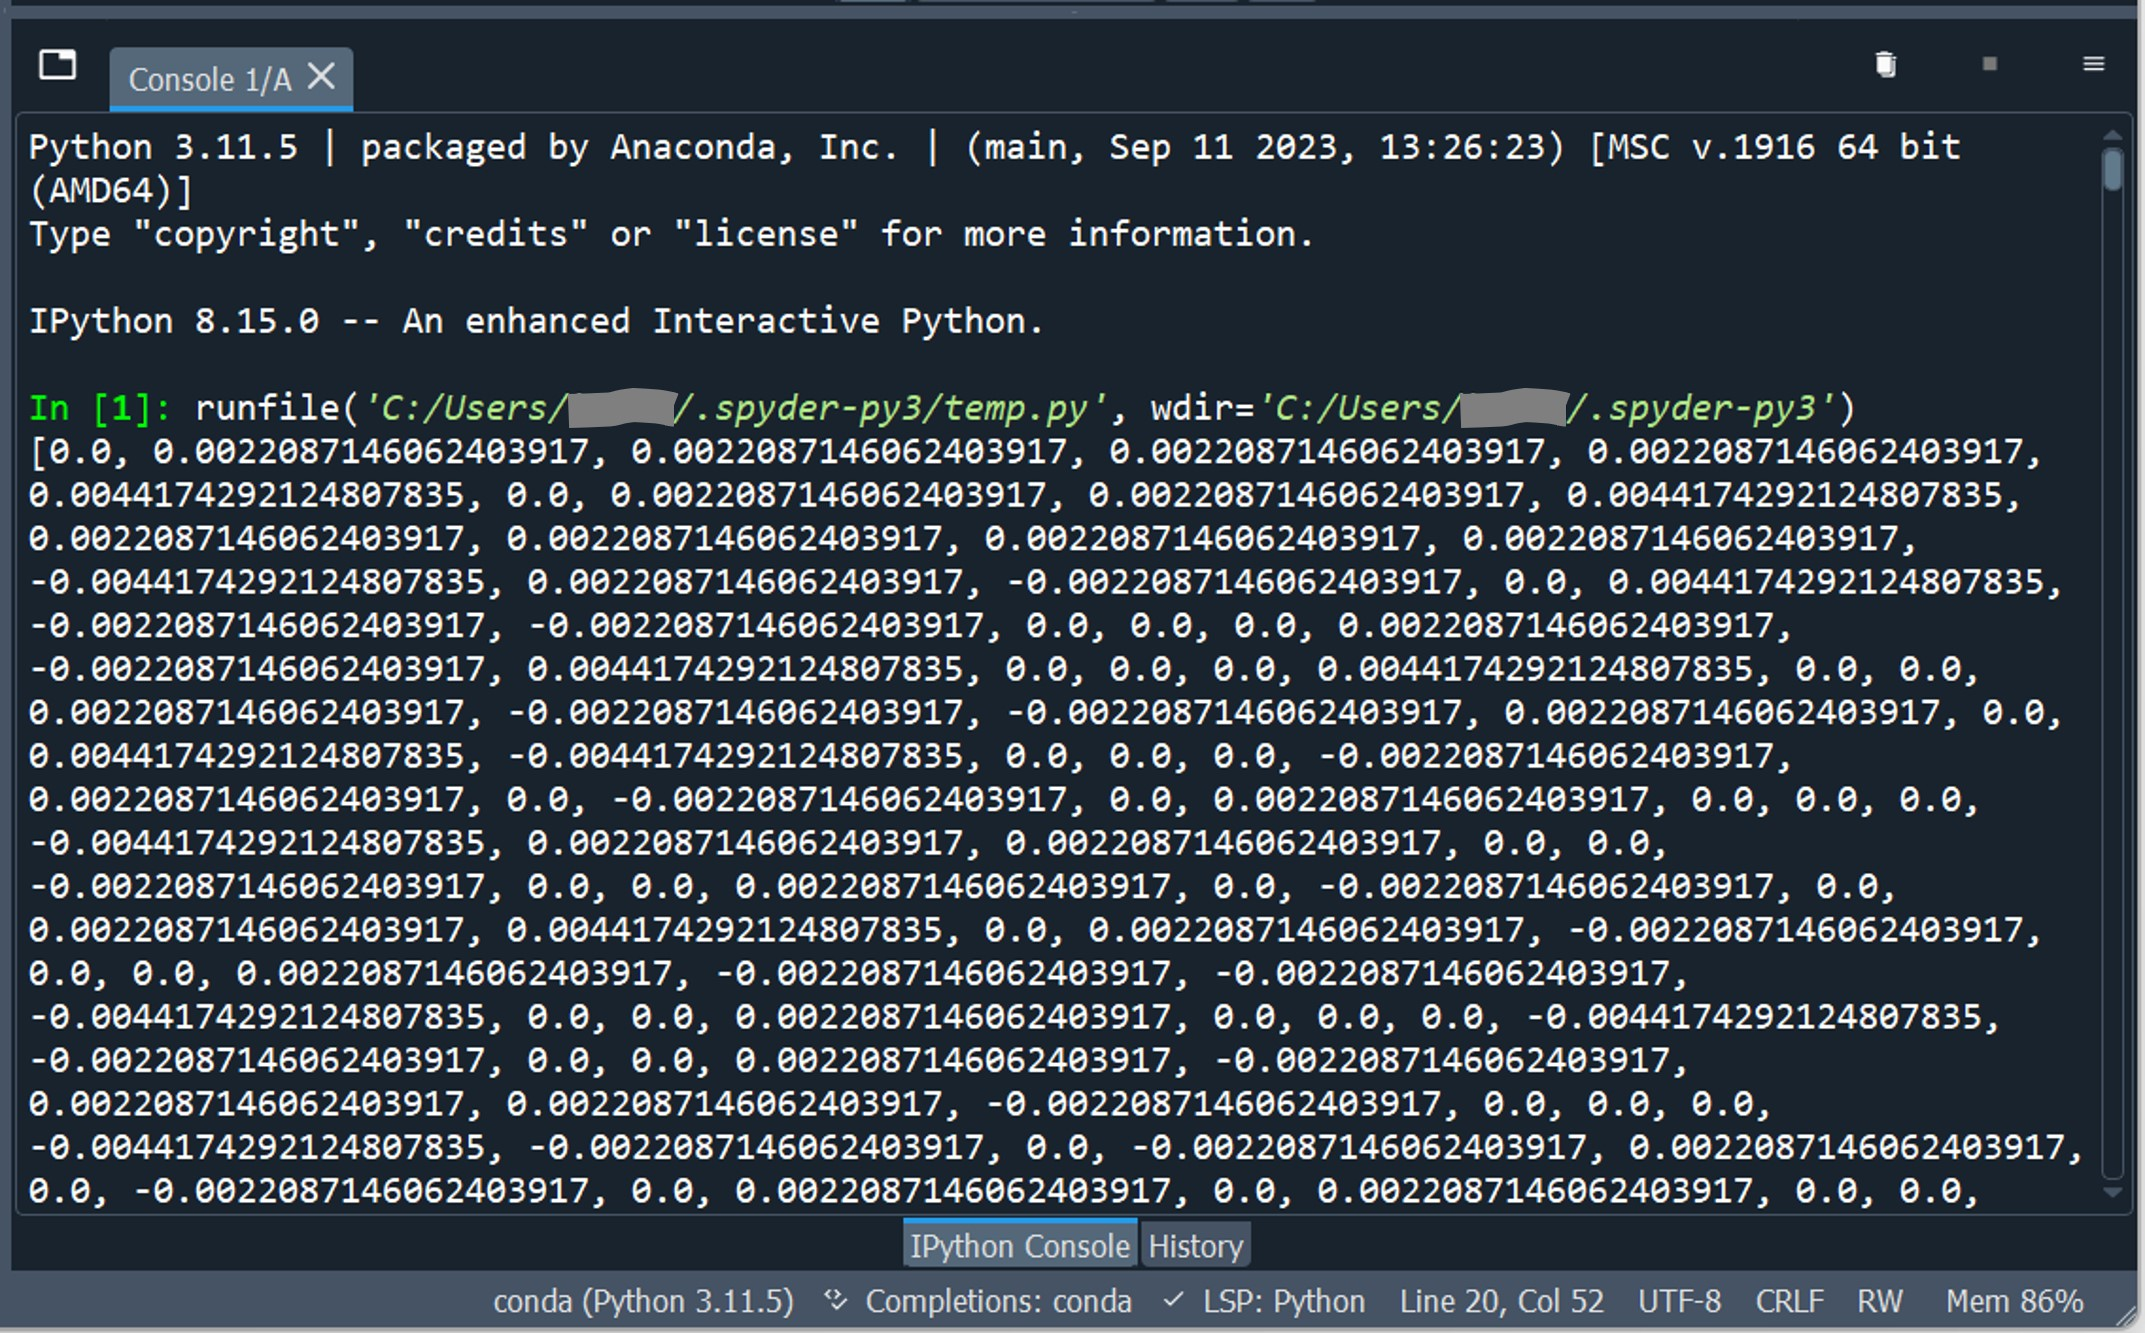
- Check the Console window for the Python script output.
Explore additional Python examples available here.
→ For Mac OS
Downloading Moku CLI
Moku CLI (mokucli) is a command line utility to quickly access various features of the Moku hardware. It is also used internally by various client driver packages for multiple functions such as decoding data streams. The latest Moku CLI packages are available to download from Utilities. The installation wizard will configure everything needed to launch the CLI.
Installing Anaconda, Moku library, and Moku data files
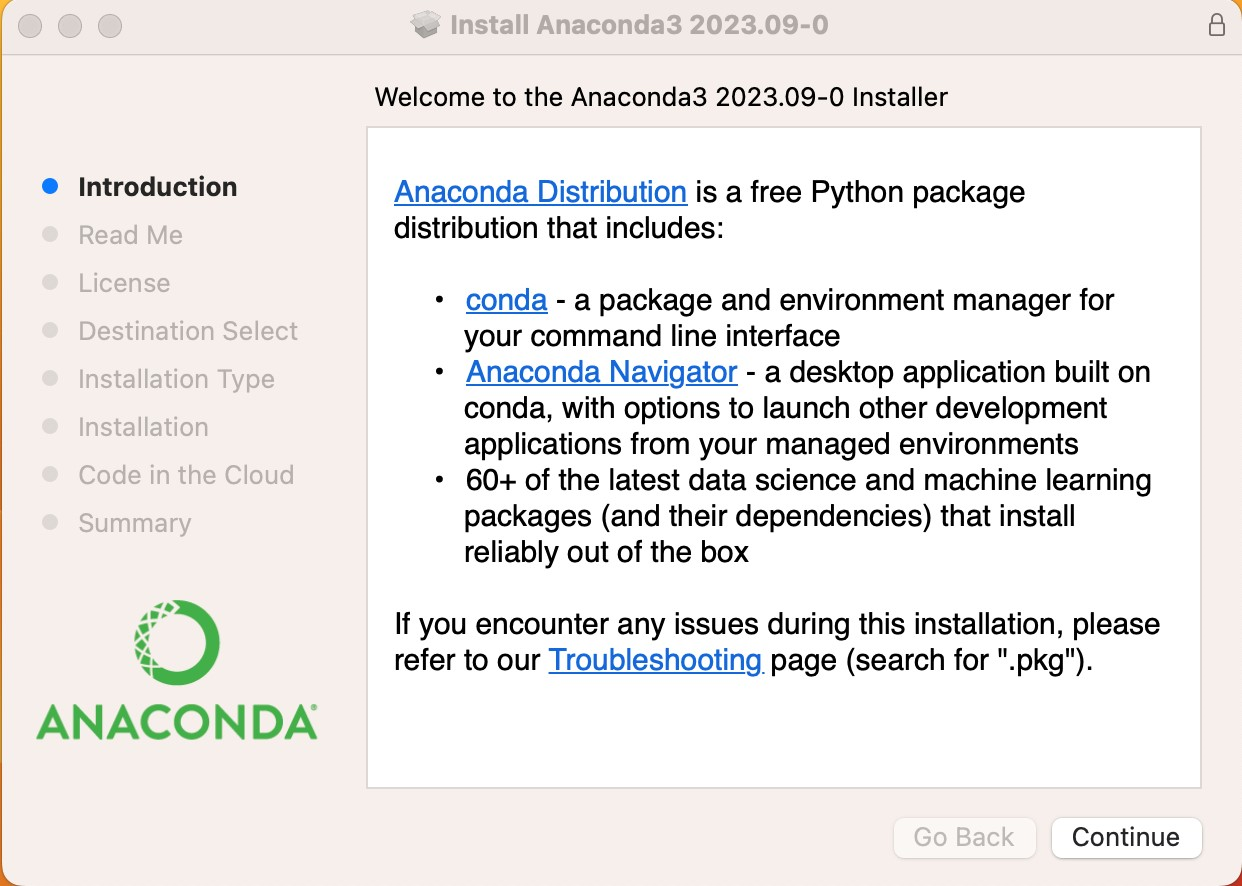
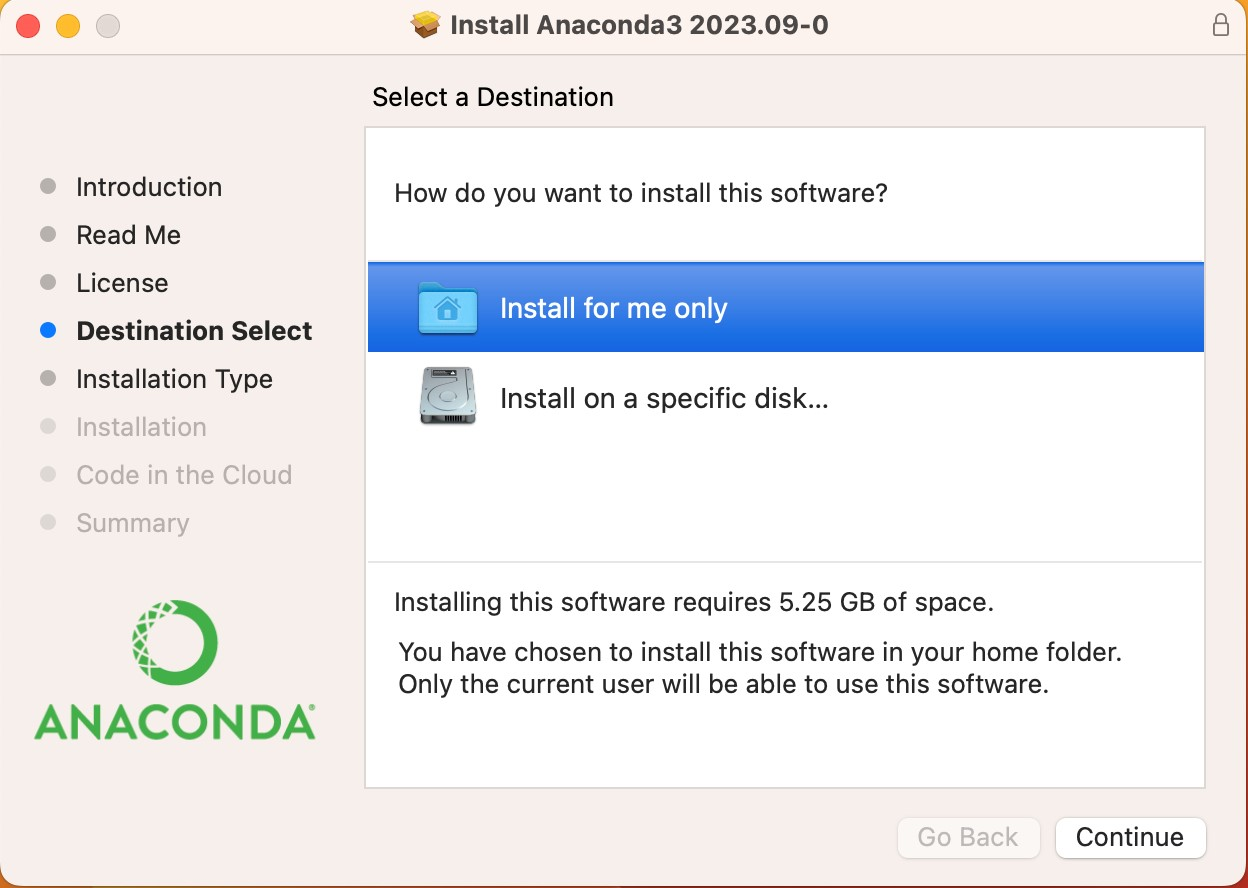
- Download Anaconda installer compatible with your Mac processor (Intel or M1/M2/M3). Then launch the installer and follow the setup instructions. Under Installation Type, select “Install for me only”. Wait until the installation is complete.

- Quit and re-open Mac Terminal , install the
mokulibrary usingpip. A successful installation will be indicated as shown in the screenshot.

- In Terminal window, use the
mokucli instrument downloadcommand. This step downloads Moku data files for all instruments, and it is only required to be run whenever you install or upgrade the Moku library.
Note: The specified MokuOS version 4.1.2 is the latest as of writing. Please replace this version number with any newer releases if available at the time of your installation.

-
From the command line, execute
mokucli listcommand. This step automatically displays all Moku devices on your network, and it also helps identify Moku's IP addresses. For more detail and other options, see Finding your IP Address.

Running your first program
To validate the successful installation of Moku package, we now run a Python example of Moku Oscilloscope.
- From the Anaconda Navigator, launch Spyder.
- Paste the example Python code for Moku Oscilloscope into the workspace. Don't forget to modify the IP address to the specific ones of your devices, and change the value of
force_connecttoTrue. Then click “Run file” highlighted in red in the screenshot to execute the code.
- Check the Console window for the Python script output.
Explore additional Python examples available here.