How to connect Moku:Lab via USB in Windows
A step-by-step guide for setting up Moku:Lab USB connection to a Windows computer

Written by Paul Cracknell
Updated at February 6th, 2025
-
Moku:Go
Moku:Go General Moku:Go Arbitrary Waveform Generator Moku:Go Data Logger Moku:Go Digital Filter Box Moku:Go FIR Filter Builder Moku:Go Frequency Response Analyzer Moku:Go Logic Analyzer & Pattern Generator Moku:Go Oscilloscope & Voltmeter Moku:Go PID Controller Moku:Go Spectrum Analyzer Moku:Go Waveform Generator Moku:Go Power Supplies Moku:Go Lock-in Amplifier Moku:Go Time & Frequency Analyzer Moku:Go Laser Lock Box Moku:Go Phasemeter
-
Moku:Lab
Moku:Lab General Moku:Lab Arbitrary Waveform Generator Moku:Lab Data Logger Moku:Lab Digital Filter Box Moku:Lab FIR Filter Builder Moku:Lab Frequency Response Analyzer Moku:Lab Laser Lock Box Moku:Lab Lock-in Amplifier Moku:Lab Oscilloscope Moku:Lab Phasemeter Moku:Lab PID Controller Moku:Lab Spectrum Analyzer Moku:Lab Time & Frequency Analyzer Moku:Lab Waveform Generator Moku:Lab Logic Analyzer/Pattern Generator
-
Moku:Pro
Moku:Pro General Moku:Pro Arbitrary Waveform Generator Moku:Pro Data Logger Moku:Pro Frequency Response Analyzer Moku:Pro Oscilloscope Moku:Pro PID Controller Moku:Pro Spectrum Analyzer Moku:Pro Waveform Generator Moku:Pro Lock-in Amplifier Moku:Pro Laser Lock Box Moku:Pro Digital Filter Box Moku:Pro FIR Filter Builder Moku:Pro Phasemeter Moku:Pro Multi-instrument Mode Moku:Pro Logic Analyzer/Pattern Generator Moku:Pro Time & Frequency Analyzer
- Python API
- MATLAB API
- Arbitrary Waveform Generator
- Data Logger
- Digital Filter Box
- FIR Filter Builder
- Frequency Response Analyzer
- Laser Lock Box
- Lock-in Amplifier
- Oscilloscope
- Phasemeter
- PID Controller
- Spectrum Analyzer
- Time & Frequency Analyzer
- Waveform Generator
- Logic Analyzer & Pattern Generator
- Multi Instrument Mode
- Moku Cloud Compile
- Moku general
- LabVIEW
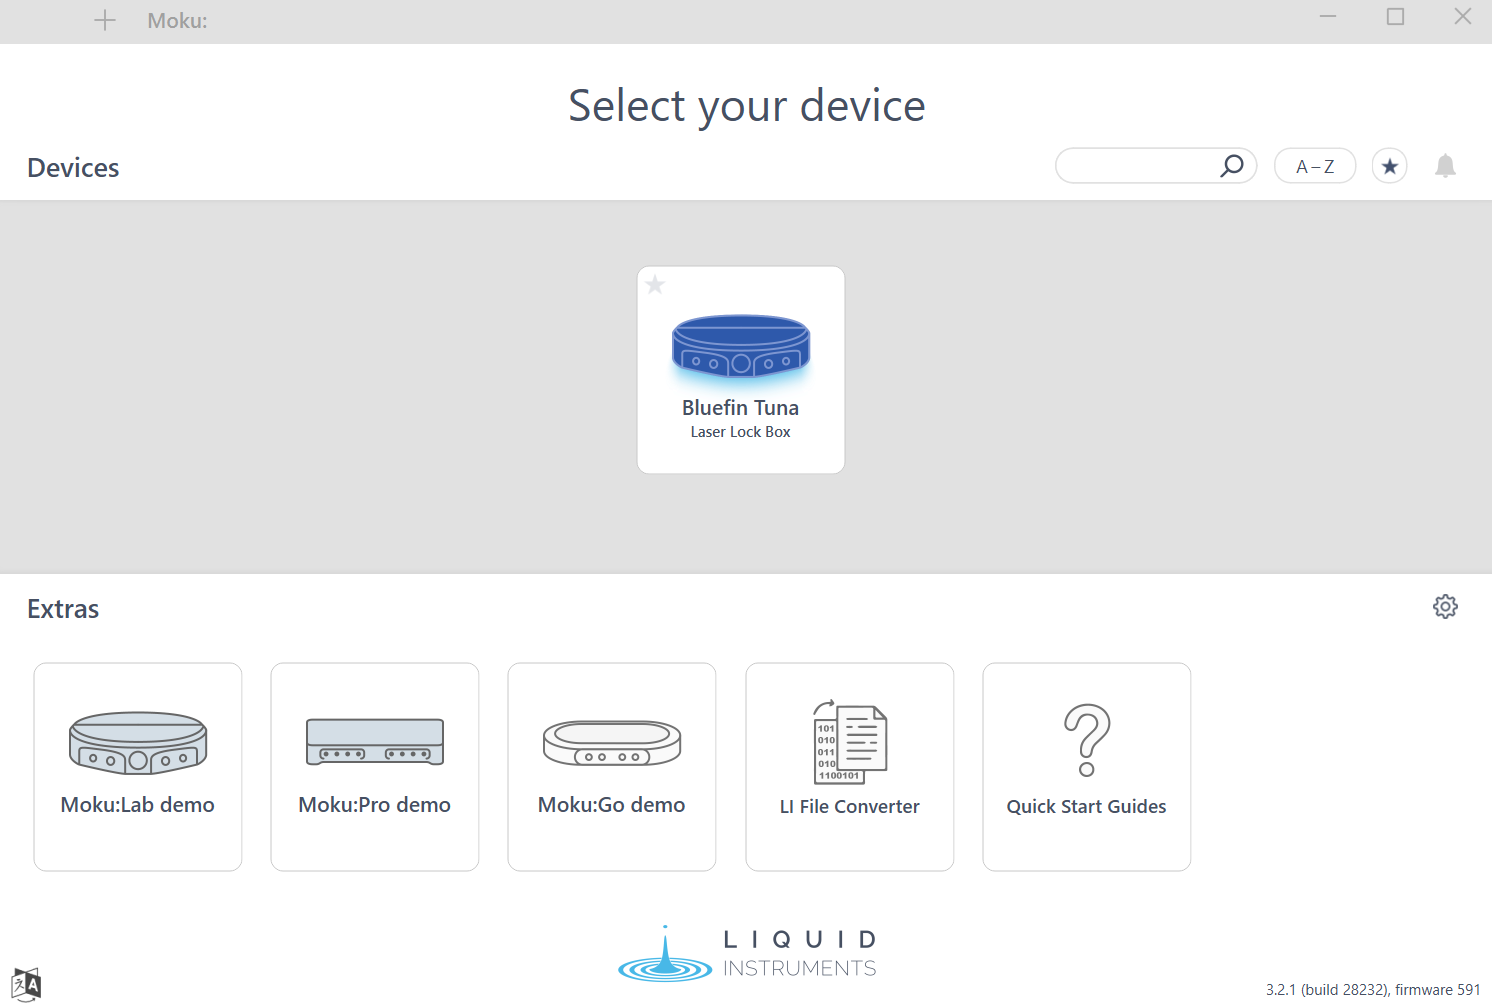
For Moku:Lab with firmware 580 and later, simply connect a micro USB cable between the Moku:Lab and your Windows PC. No further driver download is required; the Moku: app will automatically detected the Moku:Lab on the USB port.
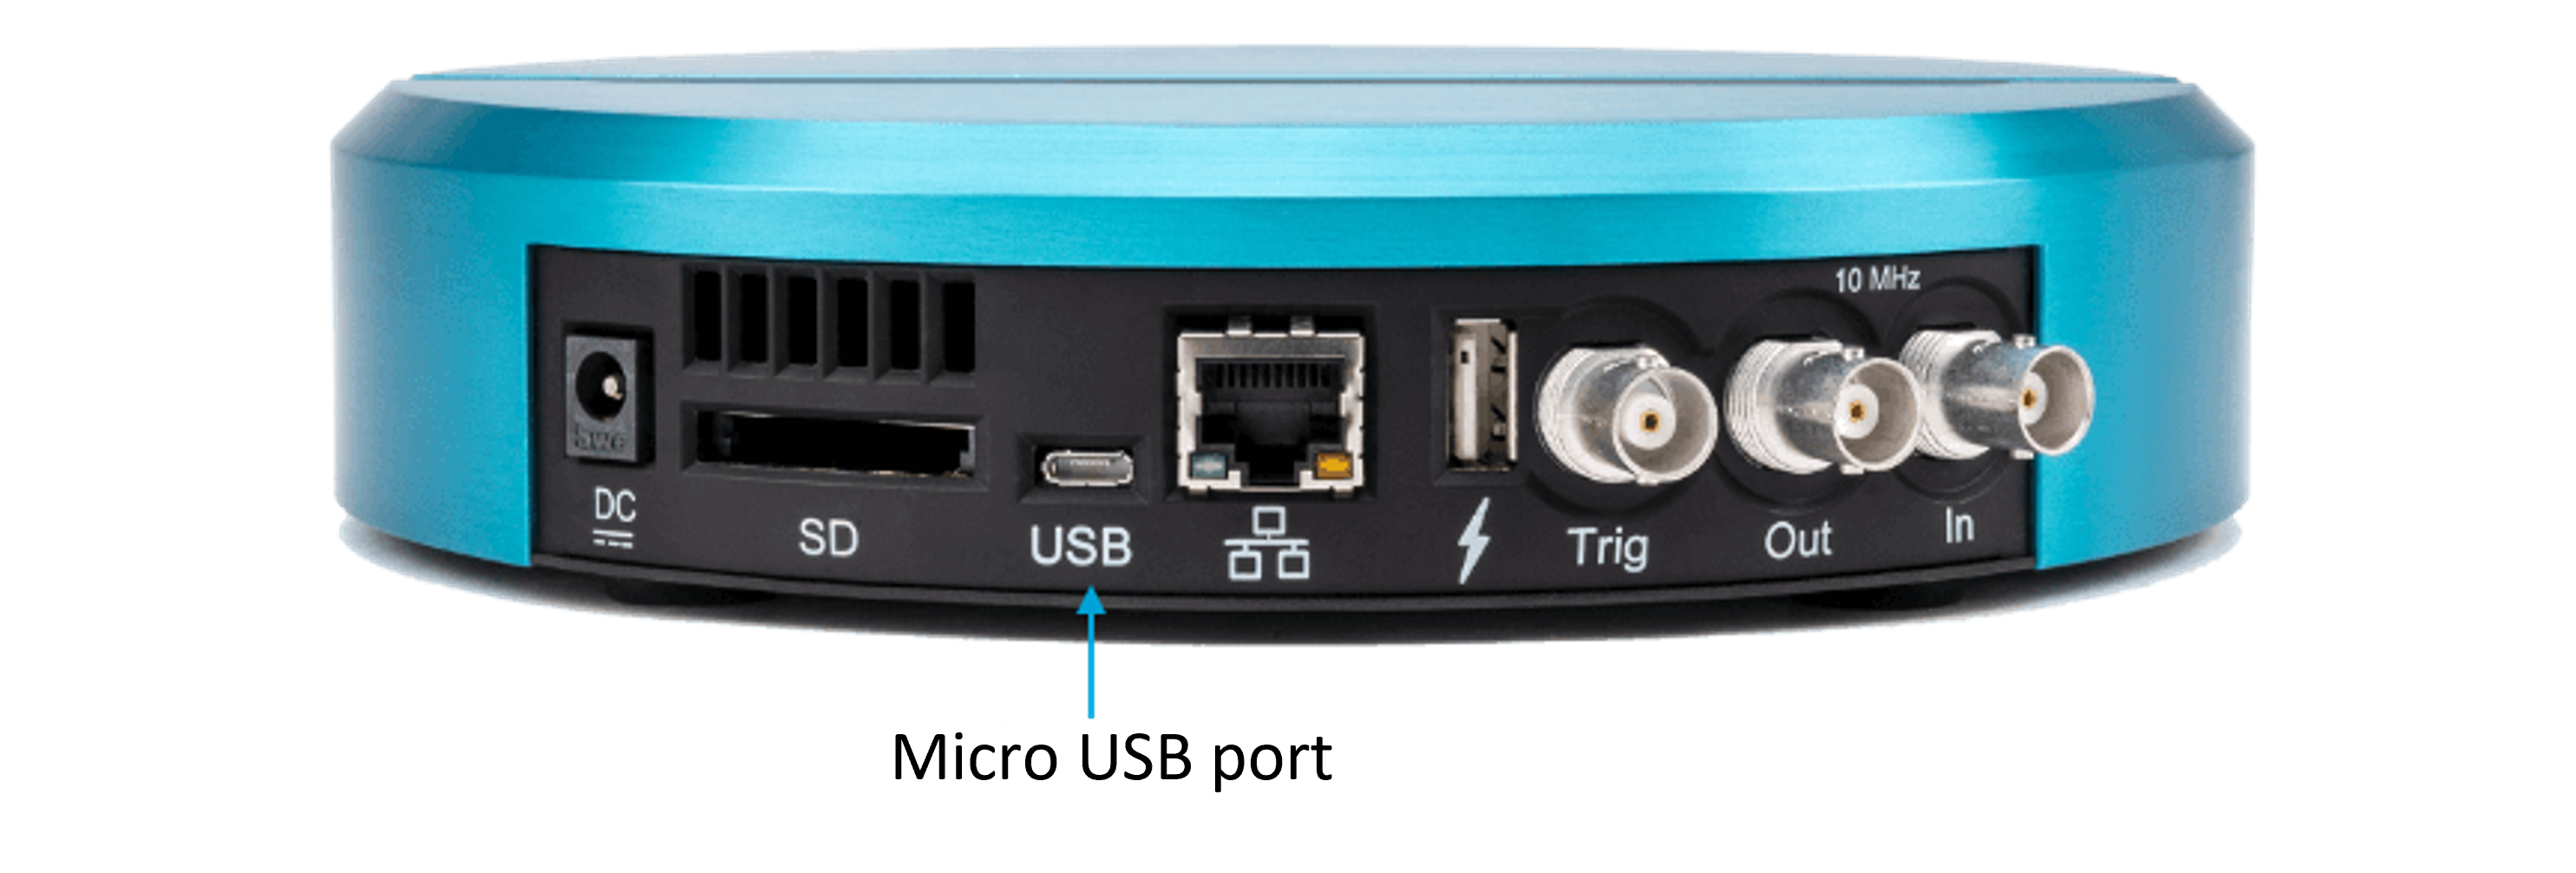
- Connect a USB cable between the Moku:Lab micro B data port and your PC

- Open Moku: app, the Moku:Lab device should show up automatically
The below article refers to older Moku:Lab firmware, prior to version 580.
The Moku:Lab can connect to the Windows app via a simple USB cable; no ethernet or WiFi is needed. This is accomplished by a RNDIS ('remote network driver interface specification') over USB.
- Connect a USB cable between the Moku:Lab micro B data port and your PC
- Open Windows Device Manager, confirm a RNDIS connection under Network Adapters. If Moku:Lab shows up under 'Ports (COM & LPT) as a USB Serial Device, then please refer to this article on how to fix this issue.

- Open the Moku:Master windows app and select Menu -> Connect -> Manual Connection to manually enter the IP address of the Moku:Lab. Each Moku:Lab will have a unique fixed IP address for its USB connection.

- To obtain the unique IP address of a Moku:Lab when connected by USB, use this USB - IP address tool. You can find the serial number of your Moku:Lab by following this article.
Moku:Lab LED status during USB mode
When connected via USB, and with no other network connection available, Moku:Lab's power button LED will flash orange.
