How to connect to the access point of Moku?
Learn how to easily connect to the WiFi access point of a Moku device

Written by Paul Cracknell
Updated at January 14th, 2026
-
Moku:Go
Moku:Go General Moku:Go Arbitrary Waveform Generator Moku:Go Data Logger Moku:Go Digital Filter Box Moku:Go FIR Filter Builder Moku:Go Frequency Response Analyzer Moku:Go Logic Analyzer & Pattern Generator Moku:Go Oscilloscope & Voltmeter Moku:Go PID Controller Moku:Go Spectrum Analyzer Moku:Go Waveform Generator Moku:Go Power Supplies Moku:Go Lock-in Amplifier Moku:Go Time & Frequency Analyzer Moku:Go Laser Lock Box Moku:Go Phasemeter
-
Moku:Lab
Moku:Lab General Moku:Lab Arbitrary Waveform Generator Moku:Lab Data Logger Moku:Lab Digital Filter Box Moku:Lab FIR Filter Builder Moku:Lab Frequency Response Analyzer Moku:Lab Laser Lock Box Moku:Lab Lock-in Amplifier Moku:Lab Oscilloscope Moku:Lab Phasemeter Moku:Lab PID Controller Moku:Lab Spectrum Analyzer Moku:Lab Time & Frequency Analyzer Moku:Lab Waveform Generator Moku:Lab Logic Analyzer/Pattern Generator
-
Moku:Pro
Moku:Pro General Moku:Pro Arbitrary Waveform Generator Moku:Pro Data Logger Moku:Pro Frequency Response Analyzer Moku:Pro Oscilloscope Moku:Pro PID Controller Moku:Pro Spectrum Analyzer Moku:Pro Waveform Generator Moku:Pro Lock-in Amplifier Moku:Pro Laser Lock Box Moku:Pro Digital Filter Box Moku:Pro FIR Filter Builder Moku:Pro Phasemeter Moku:Pro Multi-instrument Mode Moku:Pro Logic Analyzer/Pattern Generator Moku:Pro Time & Frequency Analyzer
- Python API
- MATLAB API
- Arbitrary Waveform Generator
- Data Logger
- Digital Filter Box
- FIR Filter Builder
- Frequency Response Analyzer
- Laser Lock Box
- Lock-in Amplifier
- Oscilloscope
- Phasemeter
- PID Controller
- Spectrum Analyzer
- Time & Frequency Analyzer
- Waveform Generator
- Logic Analyzer & Pattern Generator
- Multi Instrument Mode
- Moku Cloud Compile
- Moku general
- LabVIEW
- mokucli
Connecting to your Moku's WiFi access point
Each Moku is equipped with an onboard WiFi access point, which is useful for initial device setup and instrument control without the need for Ethernet or any other WiFi network.
Your Moku will have the access point turned on by default. However, if you have turned off the access point, please refer to this article to see how to turn the access point back on.
iPad app connection
- Turn on your Moku and wait until the LED at the front of the device indicates it is powered on. The LED colors are explained here: Moku LEDs
- Open Settings for your iPad then select Wi-Fi.
- A network with the name "Moku-XXXXXX" should appear, where XXXXXX is the serial number of the Moku. Select this network.
- You will be prompted to enter the password. The default password is for Moku:Lab is mokuadmin. The default password for Moku:Go, Moku:Pro, and Moku:Delta is printed within a label on the bottom of the Moku:Go and Moku:Pro and on the back of the Moku:Delta.
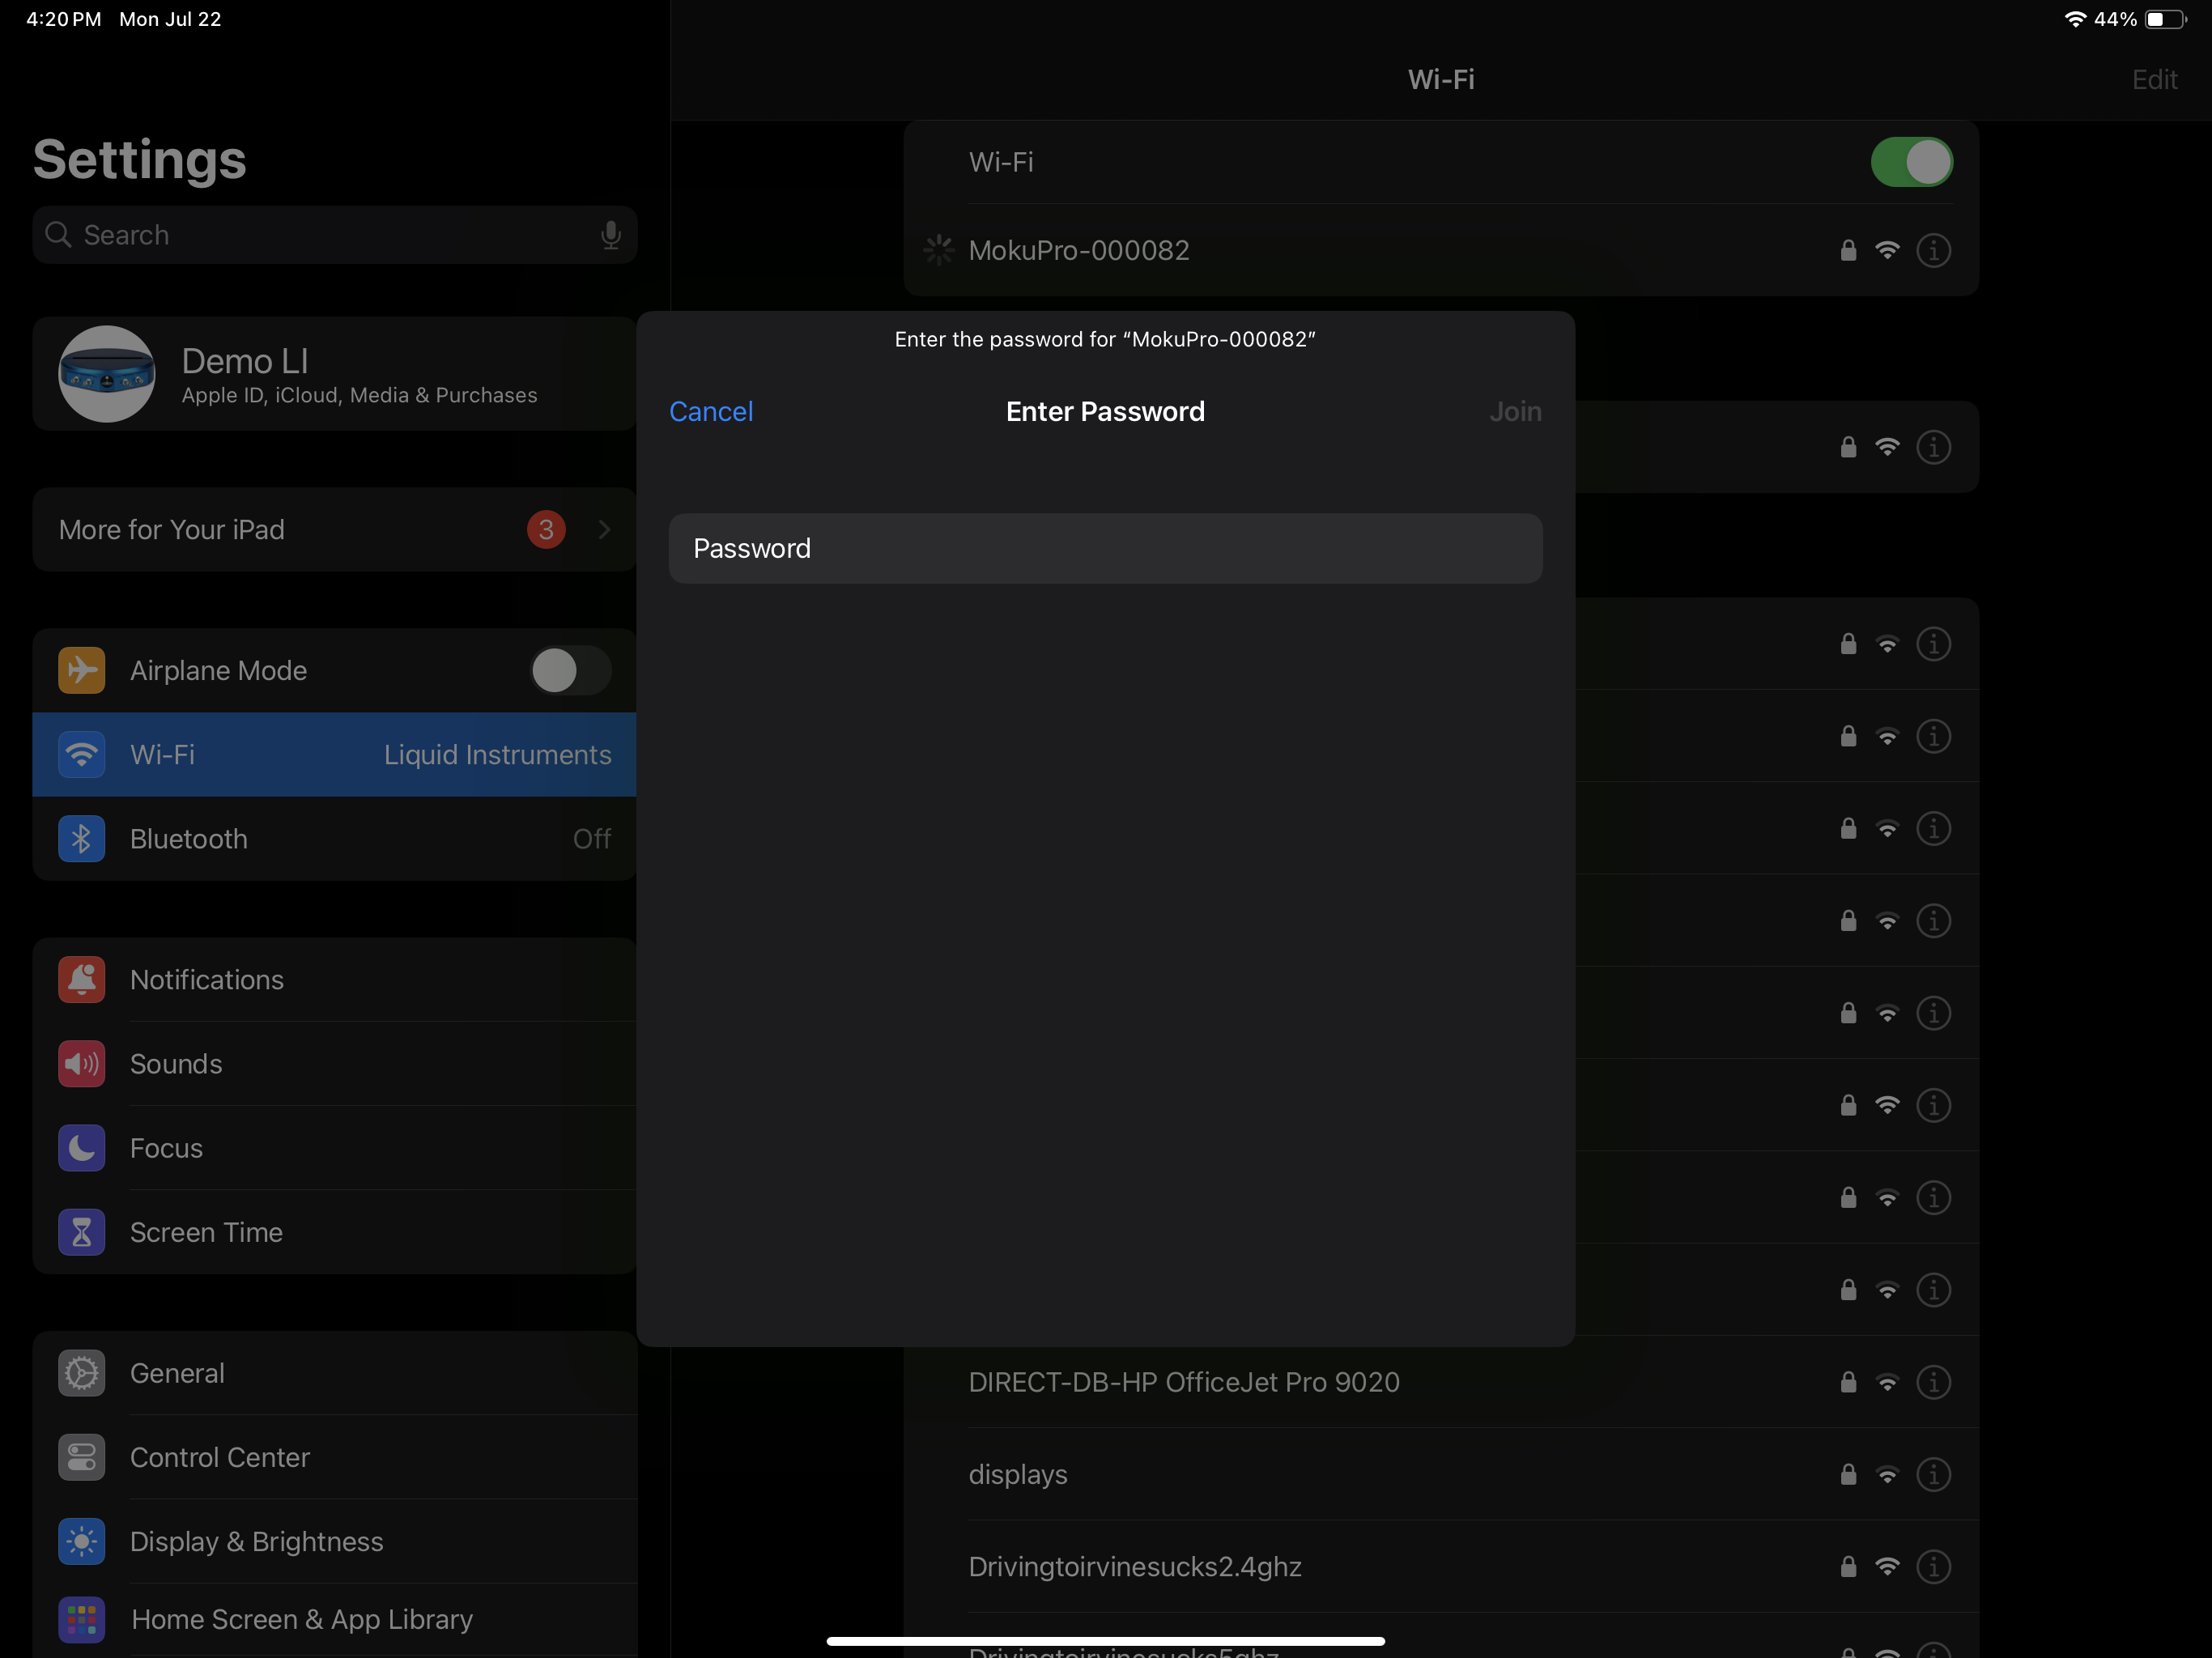
- Confirm the password and join the network.
- Once you are successfully connected to the access point, launch the Moku App. You should only see one Moku in the "Select your device" menu
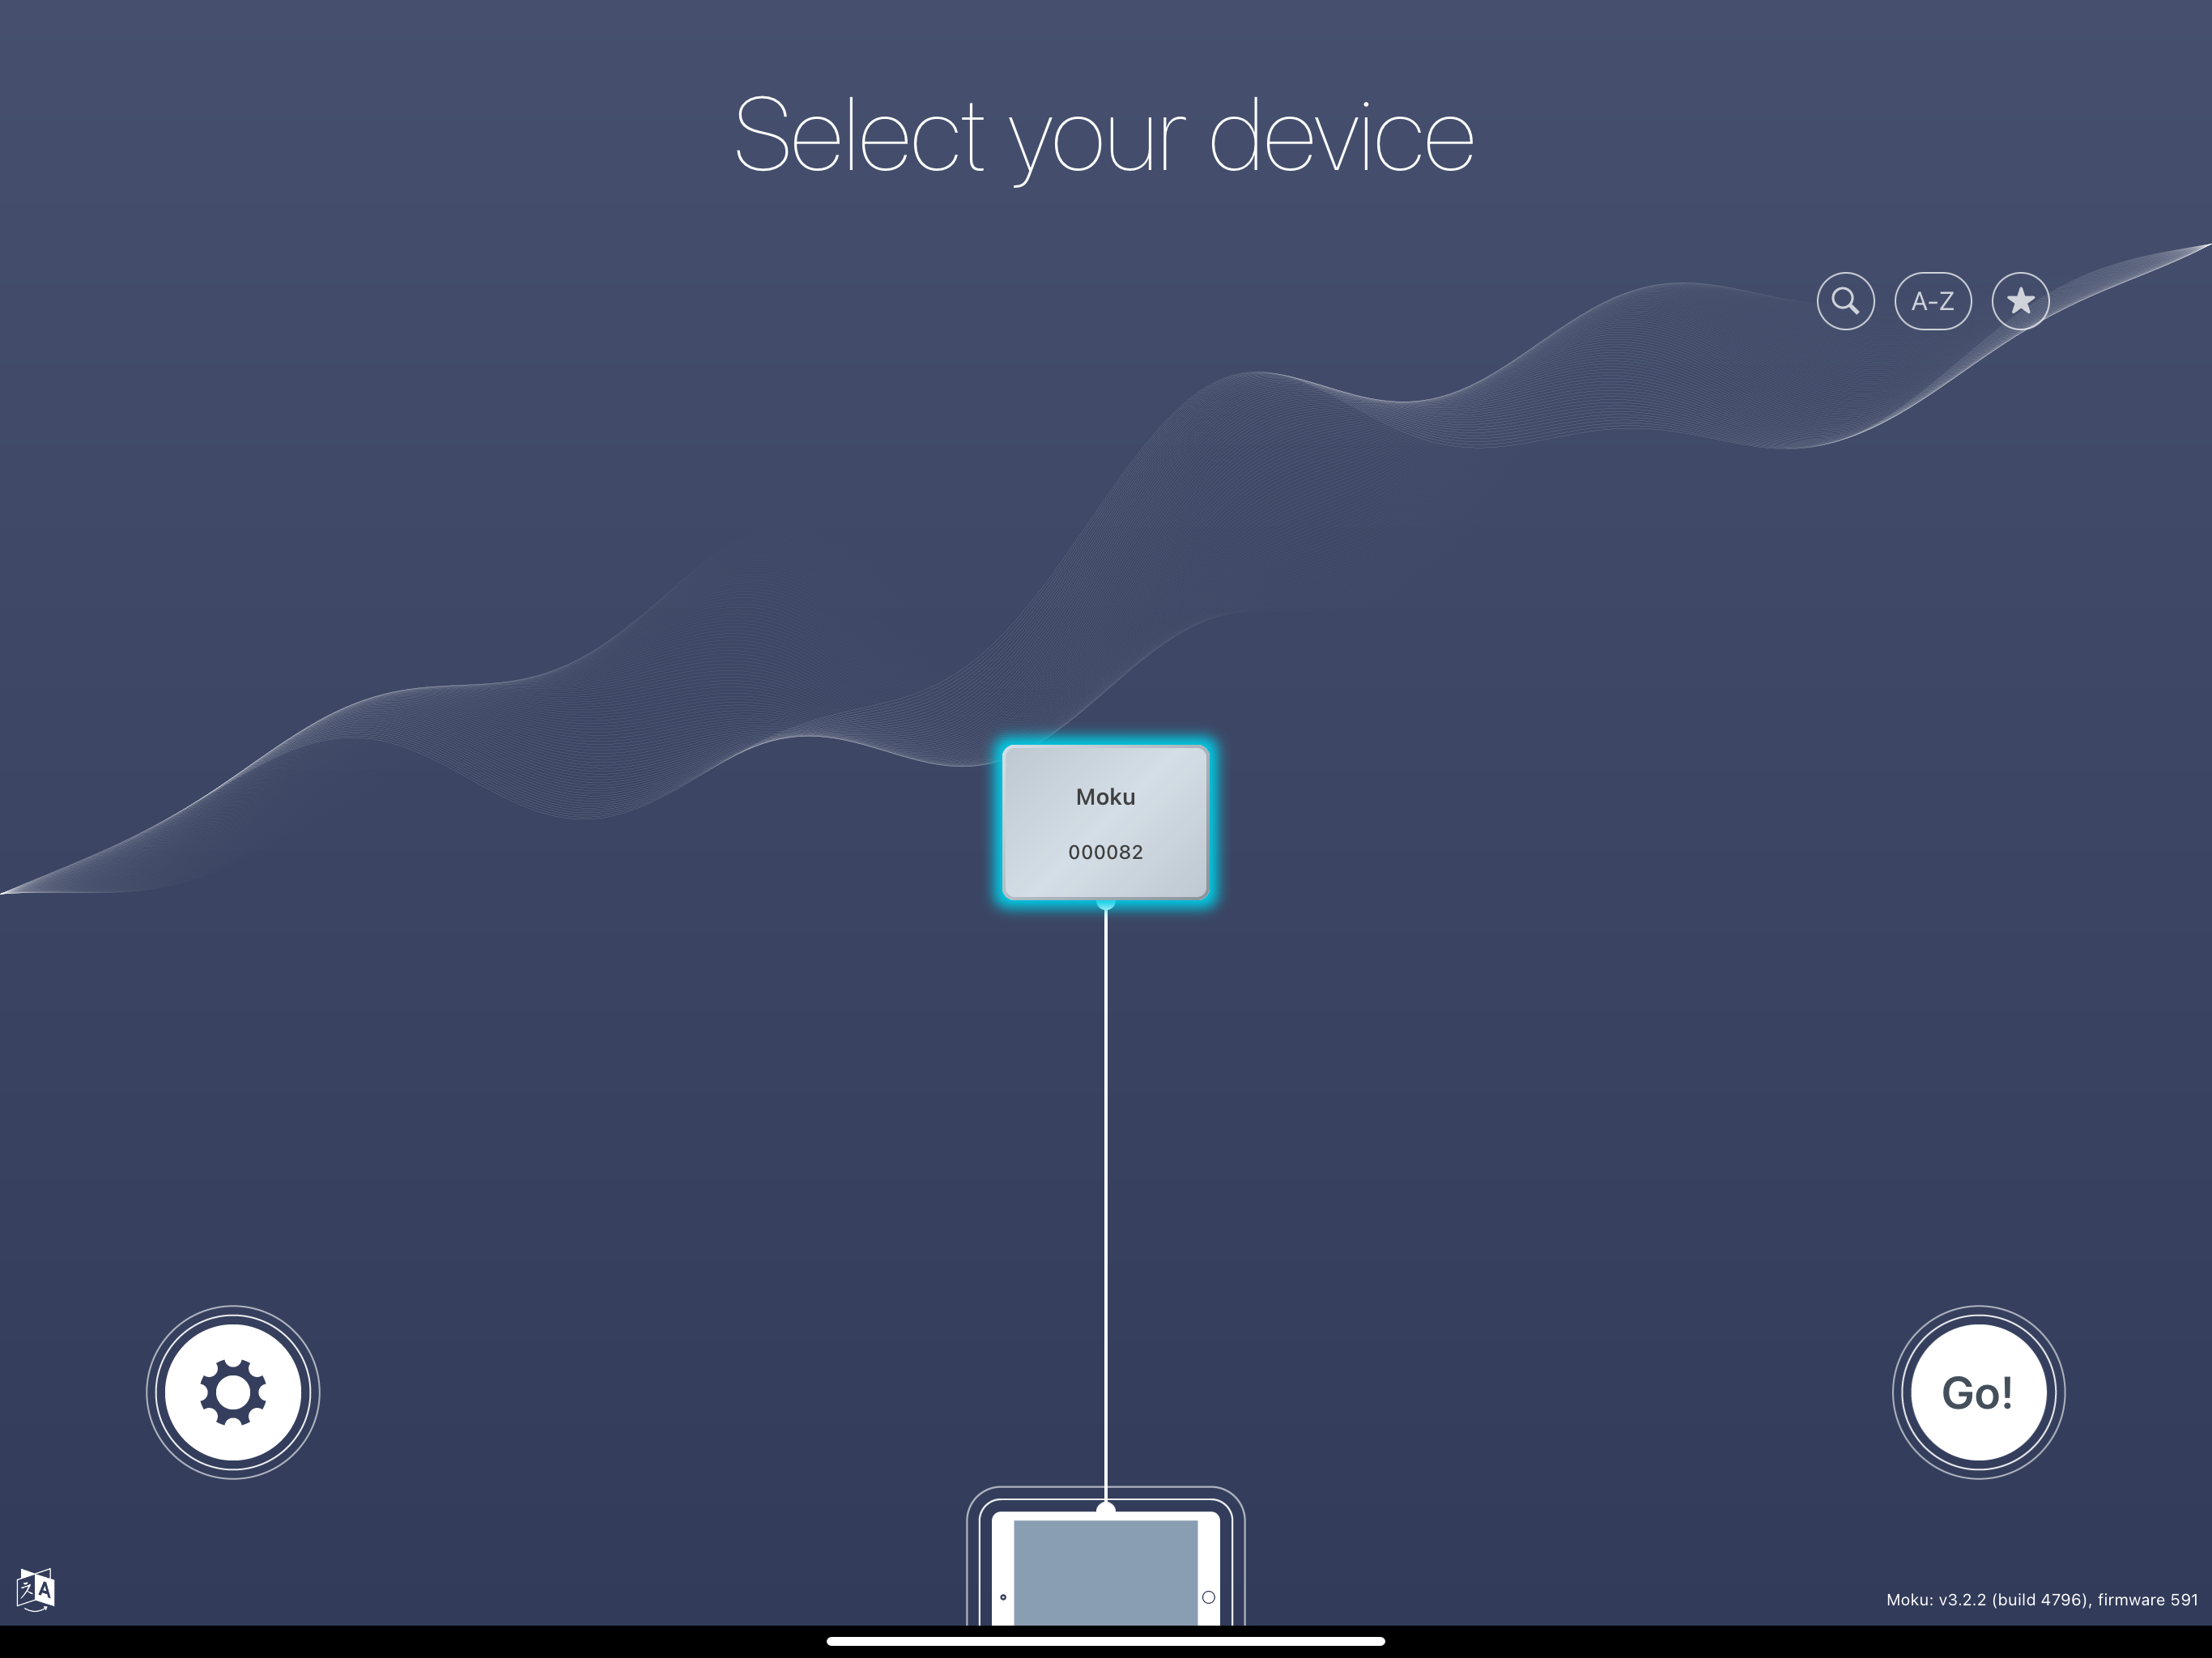
You have now successfully connected to the access point of your Moku and can control and configure the device from the iPad App.
Windows and macOS
You can also control and configure your Moku via WiFi and PC using the Windows app, macOS app, or various APIs (Python, MATLAB, LabVIEW). To connect a computer to your Moku's WiFi access point:
- Turn on your Moku, wait until the LED at the front of the device indicates it is powered on. The LED colors are explained here: Moku LEDs
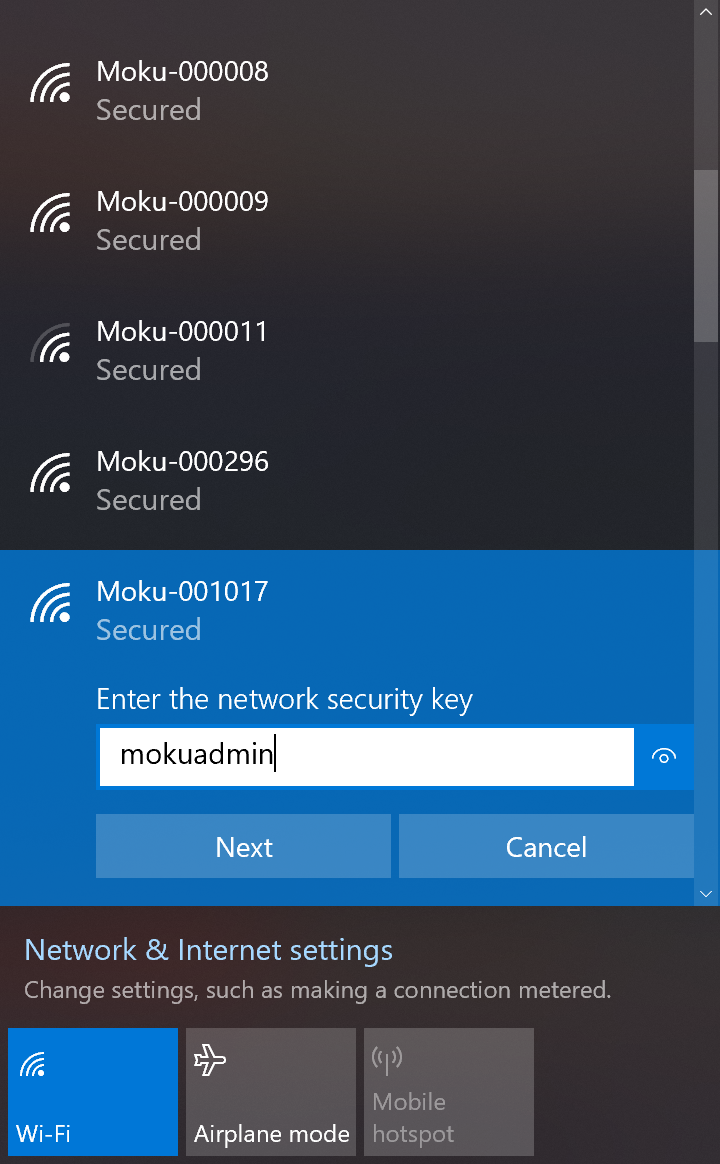
- Open the WiFi network settings in your computer.
- A network with the name "Moku-XXXXXX" should appear, where XXXXXX is the serial number of the Moku. Select this network.
- You will be prompted to enter the password (see below for Windows PC example). The default password for Moku:Lab is mokuadmin. The default password for Moku:Go, Moku:Pro, and Moku:Delta is printed within the label at the bottom/back of the device.
- Once the connection is established you can control and configure your Moku using the Windows app, macOS app or our APIs. If you are using the APIs via Moku’s access point, the default IP address is
192.168.73.1.